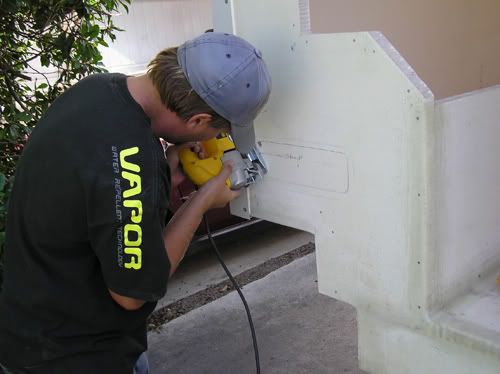
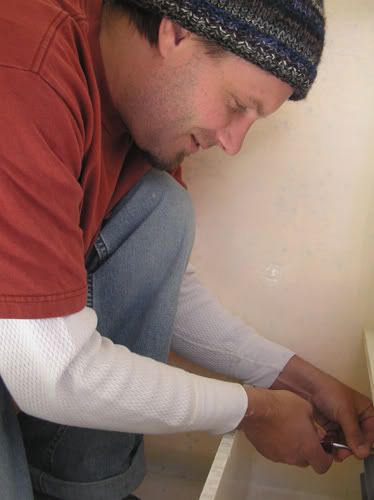
With the camper finally on the truck, it was time to give some attention to details like cutting the holes for the tail lights. Unfortunately, we couldn't use the tail lights that came with the truck, but decided that VW bus tail lights would work well and be easy to install. We ordered a pair online but when the arrived they didn't fit together perfectly. We filed some areas down and tried to make them work, but eventually had to send them back and wait for replacements.
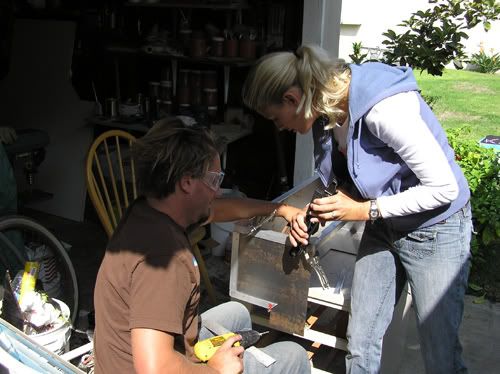
After cutting the hole with the jigsaw, Ryan used his surform to smooth down the edges.
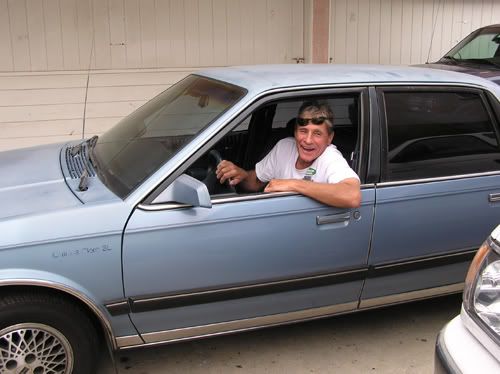
The legendary Jack Cirrito stopped by to lend his support.
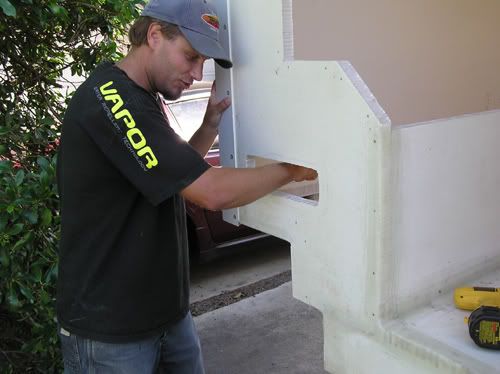
Making the door of the camper involved many more steps than we have photos to prove. Originally, we looked into just buying a pre-made camper or RV door to install. We decided however, that it would be nice to have an extra wide door in order to be able to get in and out easily with a surfboard in hand. Ryan also came up with the genius concept of having the door open upwards so that it could also be used as a sun shade or rain shelter. Being able to hang out inside the camper but still feel "outdoors" was a top priority, and this door design really accomplished that. Of course, making our own door meant that we had to put a lot of work into making sure it sealed well. Putting together the trim that would allow a tight seal took a lot of work. We used rivets to attach two aluminum angles together and sealed them with silicone, then cut them to the desired sizes with the appropriate angles on the ends so that they would match up and line our odd shaped door opening, and then riveted them onto the camper.
Even more difficult than trimming the camper was making the trim around the door line up properly once the door was closed. We lined the door edges with aluminum C-channel.
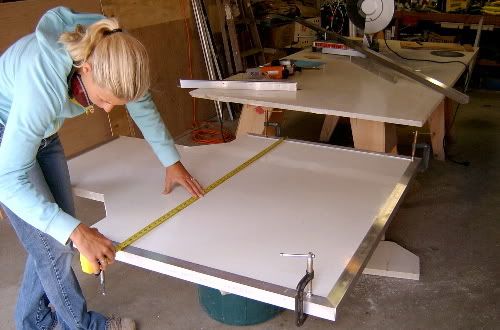
After the pieces were cut to the correct size, we then had to rivet them on to the door. This is our premium riveter that performed much better than the others we had been using, but even it broke eventually and would need to be replaced.
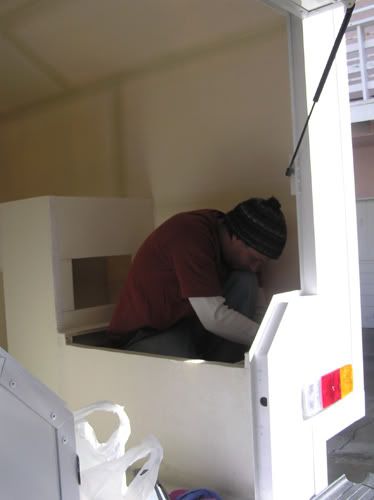
That whole step was a lot of work. We were pretty amazed with ourselves when we finally riveted the door to the hinge and closed it, that it actually fit reasonably well the very first time.
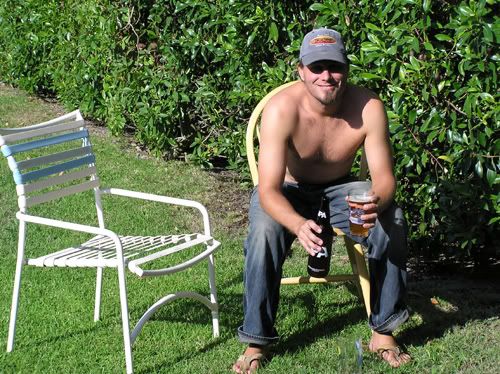
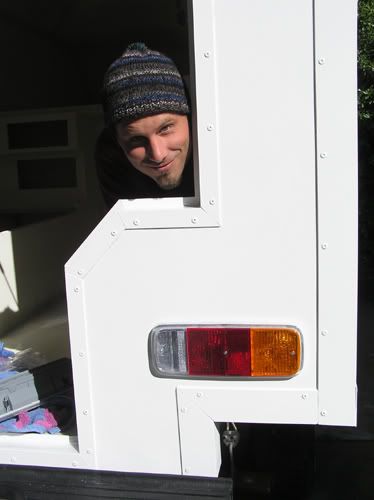
With the door finally hanging, Ryan could sit back and enjoy the afternoon sun.
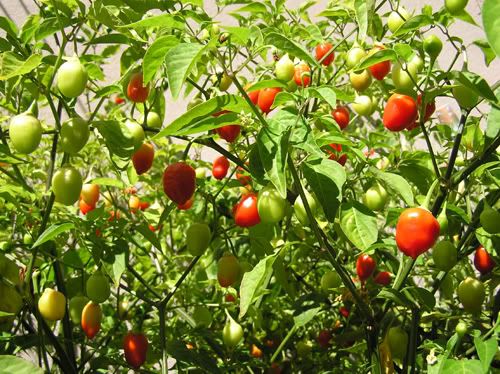
By this time, the garden was going off! We had more Rainforest chiles than we knew what to do with, especially because they were pretty hot and didn't taste especially good, so there wasn't much we could do with them.
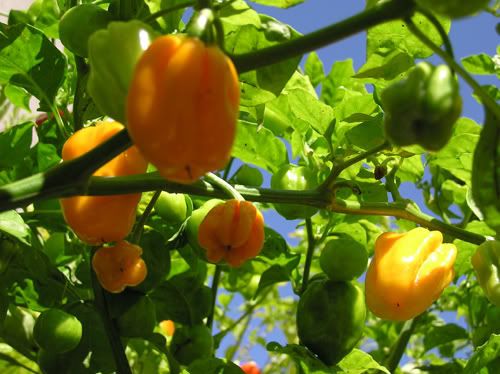
Ryan was particularly proud of his Habaneros, even though they were a bit too hot for me to get excited about. One of these goes a loooooooong way!
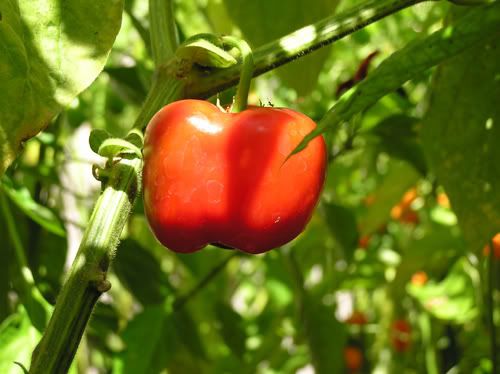
Even though they are really hot as well, I appreciated the Manzanos just because they look so cute.
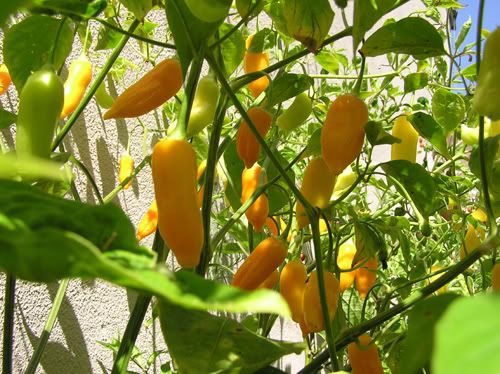
The Aji Amarillos were my favorite because they had zero heat, so I could actually bite into them and enjoy them. They were great on pizza and in pasta.
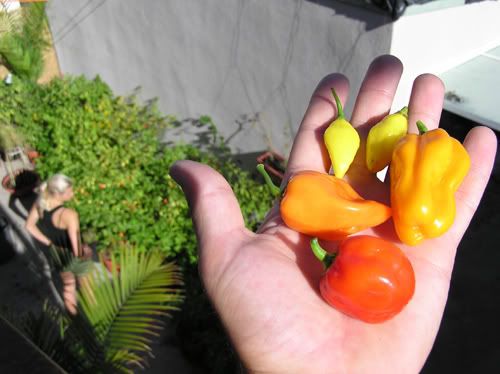
Ryan shows off a handful of his favorites.
Back to work...
Once again, we probably could have just bought utility boxes, but where's the fun in that?
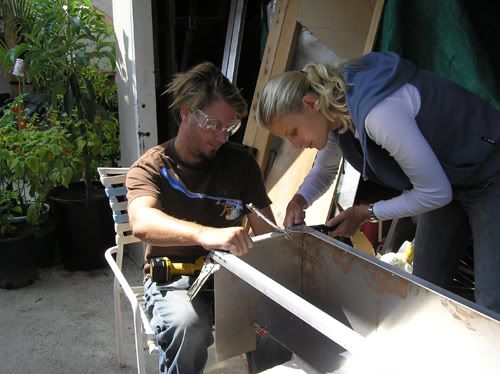
We bought steel and aluminum sheets, cut them to the required size, and then riveted on aluminum angle to make the boxes. It took us an entire weekend to make the pieces for all four boxes, and then another weekend to put them together.
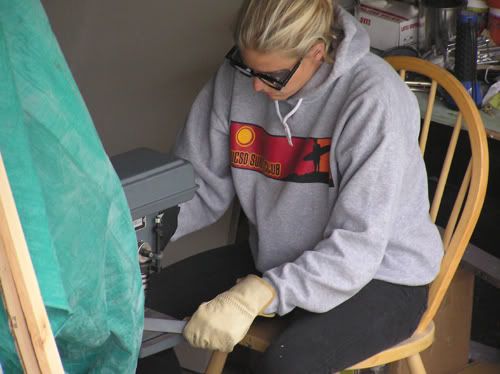
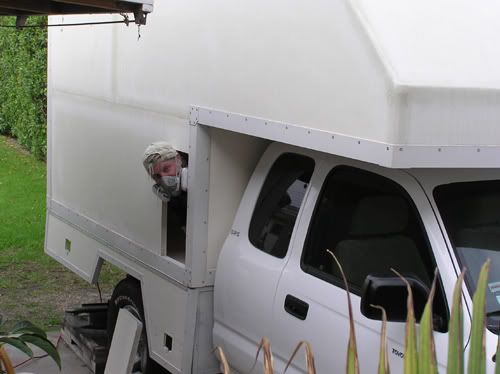
I took my job drilling holes into the angle for the rivets very seriously, but somehow Ryan couldn't help making fun of me.
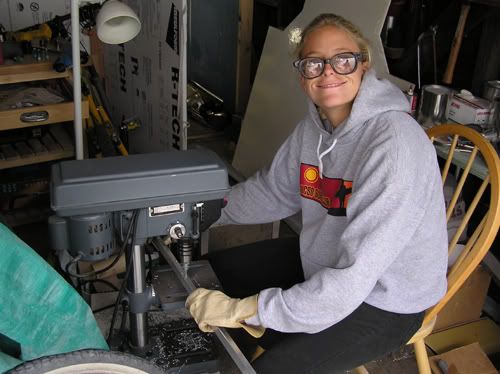
I have no idea why! (Old school safety goggles rule!)
Thanks to Laurina McGrath for the photos!
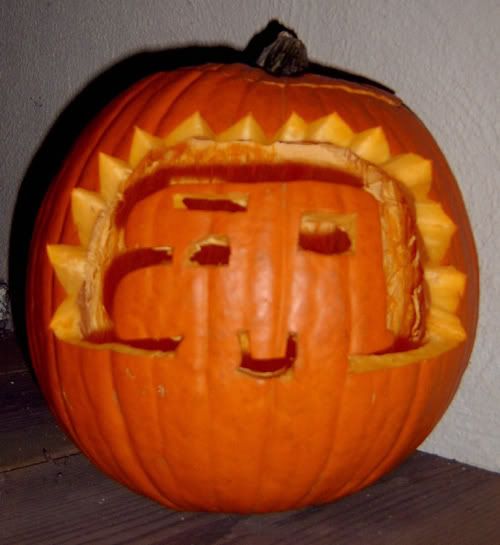
Halloween 2005. Only one thing on our minds...
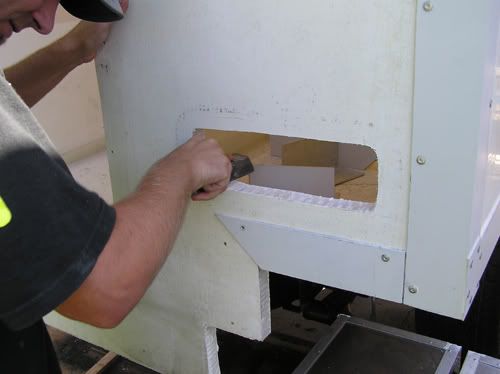
Once again we got a little lazy with our photo taking. Here you can see that Ryan has just cut out the door to what will become the water storage area. Our inspiration camper had a "table" that folded out of the side of the camper that held the stove. The propane was stored just below and the water nearby so that the cooking items were all near eachother. That was one feature that we really liked and wanted to add to our camper. In this photo you can see the utility boxes have been primed and attached to the camper on either side of the tire. We also made a door to the utility boxes that opens up to become the "table". We have cut holes in the door where the locks will go. The table and utility boxes will eventually be covered in Herculiner http://www.herculiner.com, a paint-on polyurethane and rubber coating, to add strength and durability. Unfortunately, we didn't take any photos of that step.
The next step was very unglamorous and literally took months, mostly because we never felt like doing it and it was a ton of manual labor. We often joked about hiring day laborers to save us the effort. Since the next thing we had to do was paint the camper, first we had to sand it. We sanded and sanded and sanded it. Ryan went over the whole thing with 36 grit, then 80 grit with the disc sander, then I hand sanded with 120, and then 220. Finally, we went over the entire thing with Scotch Brite. The little divets in the Nida-Core made the whole experience a bit of a nightmare. Getting into those small indentations made for very sore fingers. We had to make sure there were no shiny spots, and I can't emphasize enough that it was a lot of work!
After many long months we had finally sanded enough to be satisfied and decided it was time to paint. We used marine Interlux paints purchased from Boater's World. It was difficult to decide on the exact color but wanted to match the truck as closely as possible. There were about 10 different versions of white and each was either too pink, too grey, or too beige. We ended up mixing together Matterhorn White, Blu-glo White, and plain White. The color turned out to be reasonably close to the color of the truck, but we will most likely never be able to duplicate it.
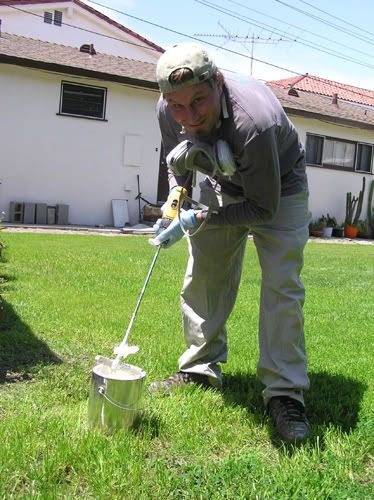
Ryan engineered a paint stirring attachment for his drill that pleased him immensely.
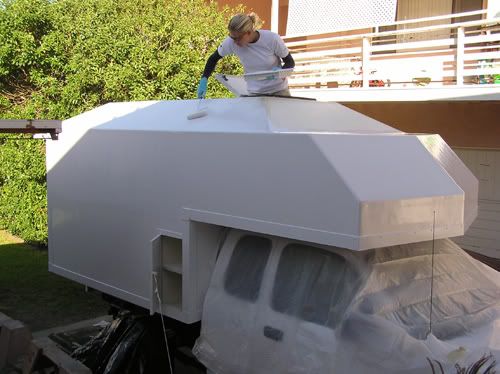
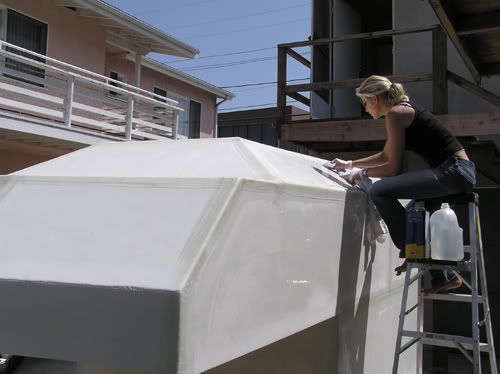
We waited for a sunny, dry day and put on our first coat of paint.

Some of the Nida-Core panels had tiny holes in the fiberglass, so we tried to coat them completely in paint. I used the end of the roller to really shove paint into them.
After we finished our first coat, we had to get back to sanding! Once again, we had to go over the entire camper with the disc sander, followed by a lot of hand sanding, and the Scotch Brite to get rid of any shiny spots. It rained a few times so we had to wait before applying our second coat.
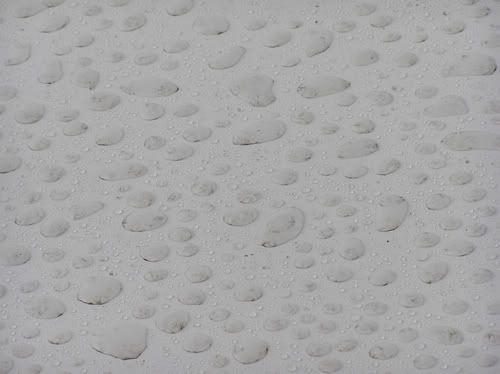
Rain drops and dust on the first coat of paint.
When the rain finally stopped, we towel dried the camper in the morning, hoping the sun would dry it out further and we would be able to paint by the afternoon. To our surprise, new drips would just appear on the roof. I would wipe them away and a few minutes later they would reappear. We were a bit confused until we realized that they were oozing out of tiny holes in the paint. In places where I had really forced a lot of paint into the tiny holes, there was no problem. In other places, it was a big problem. Painting was put on hold.
We bought lightning fast curing epoxy and experimented with coating the camper in that to seal it. That skill involved a steep learning curve. Sometimes the epoxy would harden long before we could even apply it. Other times, using slower cure epoxy, it would remain sticky for hours, and never harden 100%. Unfortunately, I had to leave for a WQS event in Australia and leave Ryan to solve the problem on his own. He ended up having to sand off most of the paint, apply the epoxy, re-sand, and then re-paint. We then of course had to sand again, in order to paint again. Like many other steps along the way, we expected painting would be fun, but the whole ordeal turned into a nightmare.
To focus his attention on a more immediately rewarding project, Ryan decided to make Biltong.

Biltong is a South African form of beef jerky that involves thicker slices of meat that are seasoned with coriander and other spices and then hung to dry in the air. We used an open oven set at the lowest possible heat setting and a fan blowing on the meat to help it dry out faster. If you look close at the oven rack, you can see that he decided to make some traditional beef jerky, and dry some chiles while he was at it. I was definitely not overjoyed at having the oven open and on for several days, especially with raw meat hanging and blowing in the fan wind. But it did taste pretty good when it was finished.
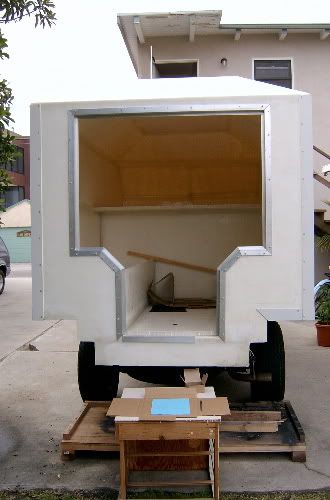
Speaking of finished, at this point the outside of the camper is painted, the utility boxes are coated in Herculiner and hung, the tail lights are installed...
...and the camper looks like this:
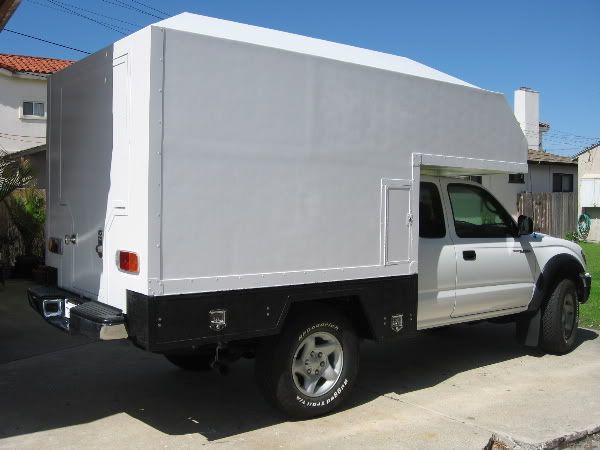
You'll notice we have two locks on the door. One is a house lock by Baldwin from Home Depot. We just liked the feel of the egg shaped handle. The lock on the opposite side is a combination lock so that we won't have to hide a key to go surfing.
In this photo, you also notice the bumper. Since we designed the camper to be a few inches longer than the bed of the truck, we had to make bumper extenders so that we could use the original bumper.
Looks pretty good, huh?
I know what you're thinking....
Yes, we are going to install windows, but we'll leave that step for next time.
See you then!
4 comments:
Very nice squawk! I am so excited that you finally decided to continue updating your blog although I know how time consuming it can be. I am waiting ever so patiently for the next update!
I like the photos of the habaneros (and jerky). I used to spend hundreds of hours out in the garden taking care of them ... they were used in my dad's homemade salsa. And you're right...a little goes a long way.
Just great inspiration, an amazing job. Thanks for sharing it with us all.
Post a Comment