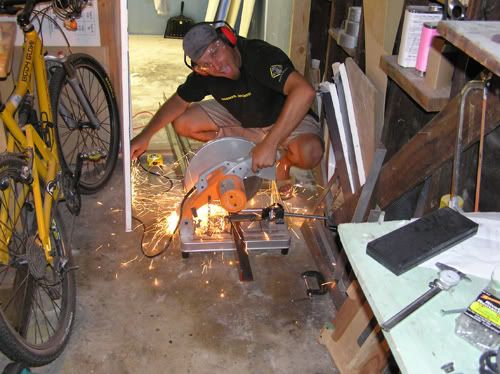
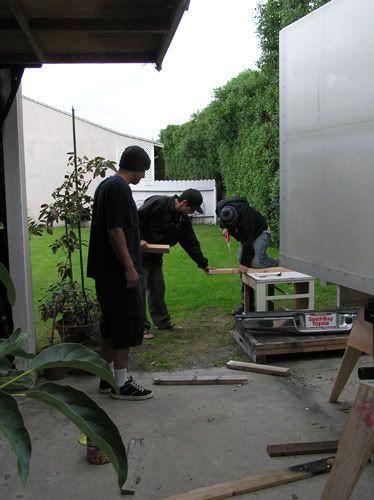
With the main Nida-Core structure complete, we started work on the trim that would cover all the 90 degree angles. You've seen this photo before in the first post, but I love it, so here it is again. We used this saw to cut all the angles, although usually the saw was up on a table. It was crucial to cut the 45 degree ends perfectly, so that the corners all lined up smoothly. That was rarely easy and required a lot of patience and several second attempts.
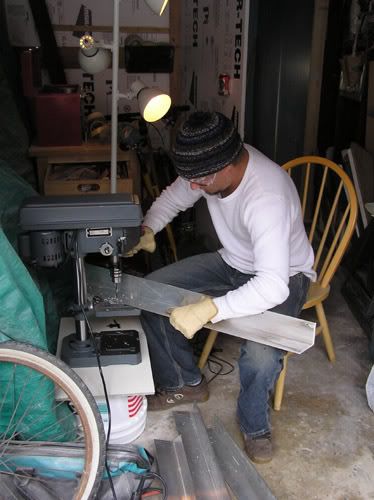
After the pieces were cut, holes for the rivets had to be drilled on the drill press (another item purchased from http://harborfreight.com).
Next, the pieces had to be primed.
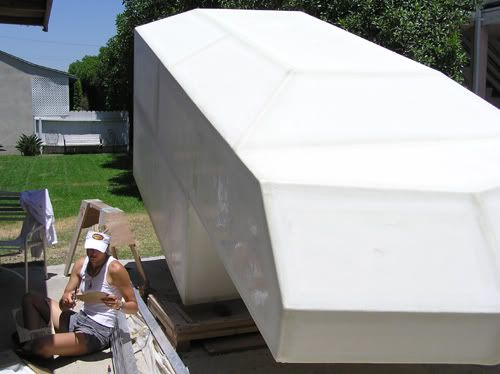
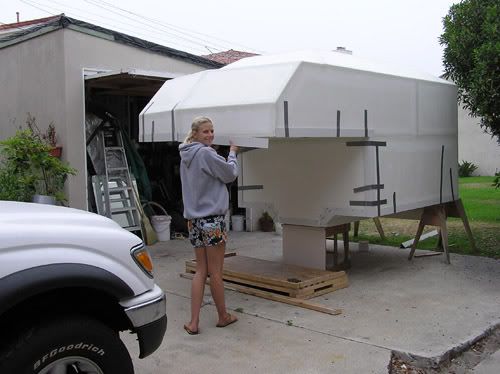
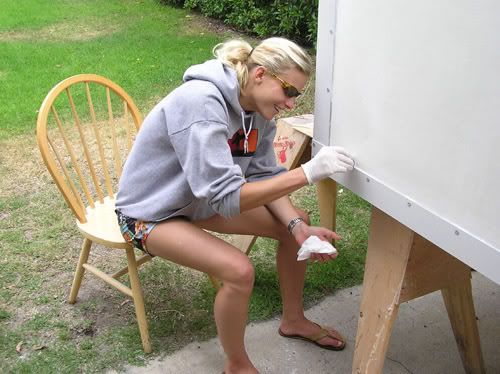
But before we could get the pieces on the camper, we had to do a lot of sanding since it would be difficult to sand up to the edges of the trim once it was in place. Sanding was definitely our least favorite part of the whole process. Yes, it was much worse than sawing. The itchy dust flew everywhere! Before Ryan would begin sanding he would put on a longsleeve shirt and gloves and have me use masking tape to seal all the edges so that the bare minumum amount of skin was exposed. I wish we had a picture of him all taped up! Here I am cutting out circles of sand paper for the disc sander. The camper is tipped down so that we could get at hard to reach places easier.
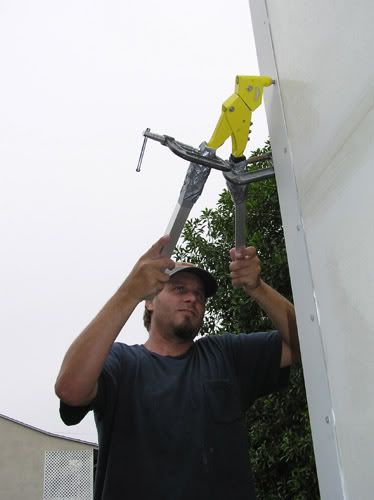
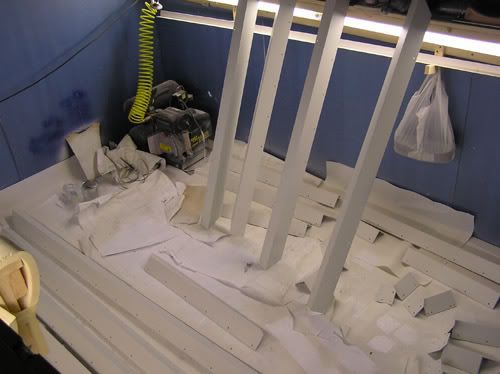
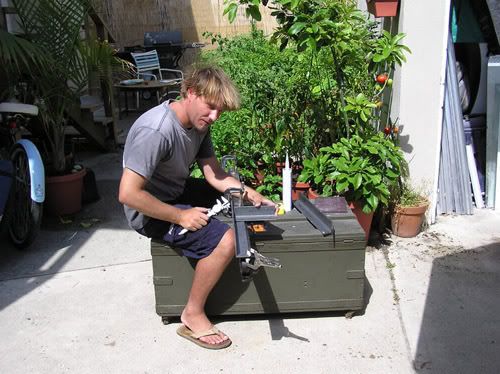
After the sanding of the edges was finished, we held the trim pieces in place, match drilled a hole through the Nida-Core, squeezed on some marine grade structural adhesive called Sika-Flex that we purchased through http://jamestowndistributors.com, and then riveted them on. Using the rivet gun was one more trial to overcome. It was the most difficult tool we tried to use. The small rivet gun that we borrowed from Ryan's dad didn't have enough power to pull through the heavy duty rivets we were using, so Ryan made handle extenders to give it more torque. It was still incredibly difficult as you can tell by the look on his face in the second shot of the sequence. It broke about 90% of the way through the job, so we went to Harbor Freight to buy another rivet gun, which would be our second of five rivet guns (as of 9/21/06) used on the camper. Those things are just not made very well.
Ryan, struggling through it.

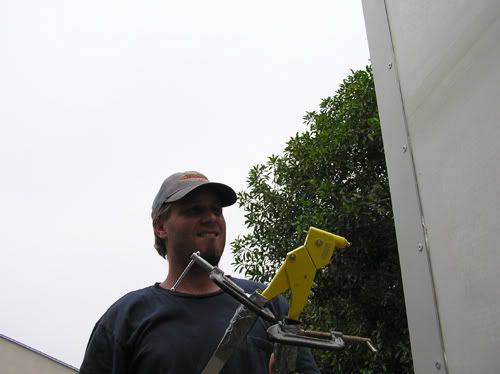
Here's me putting in the rivets so that the super strong, super riveter could finish the job.
The excess Sika-flex squeezed out the top, so I had to go along and smooth it down. That was a sticky job!
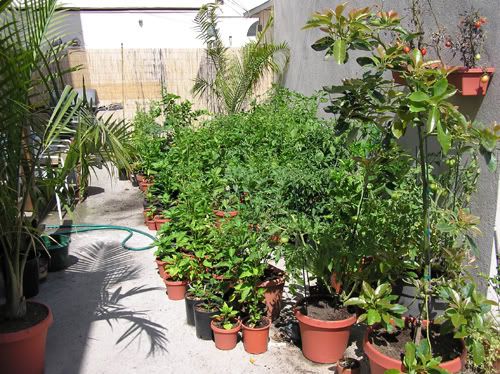
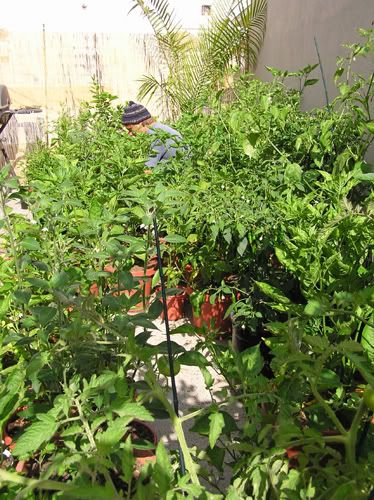
With all the attention going to the camper, the garden got a bit jealous. Here are a couple photos of our jungle of chiles just to break things up a bit. Thanks to everyone who donated to our collection of pots!
About this time, Ryan also decided that the mounts probably needed to be a bit more secure. He added some steel pieces on the side that would tie into the camper in a few more places and put more of the rivets in shear. "Rivets are strong in shear."
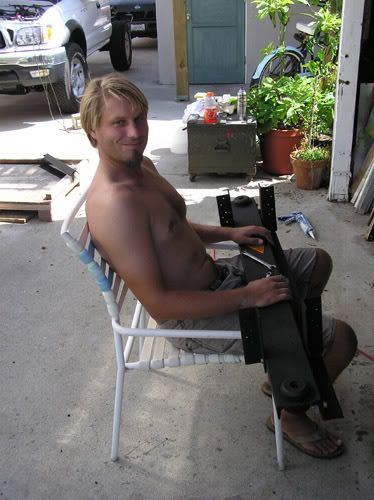
He was happy with his improved mount.
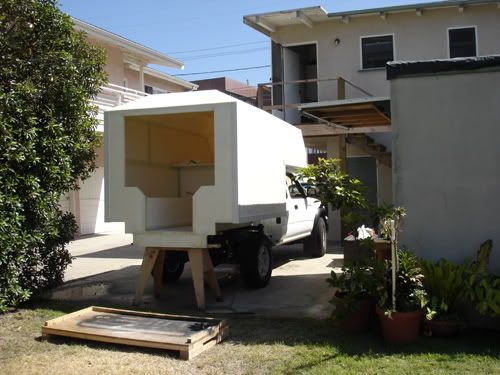
Finally, it was time to actually put the camper on the truck! By this time the camper was getting heavy, but Ryan, Scott, and Fuj were still able to lift it together. In order for it to line up with the height of the frame, Ryan cut 2"x4"s and slowly slipped one after another under the camper to lift it higher.
Once the camper was elevated to the correct height, we backed the truck under the bed of the camper and lined everything up.
Fortunately, a few of Ryan's uncles were in town to help strategize.
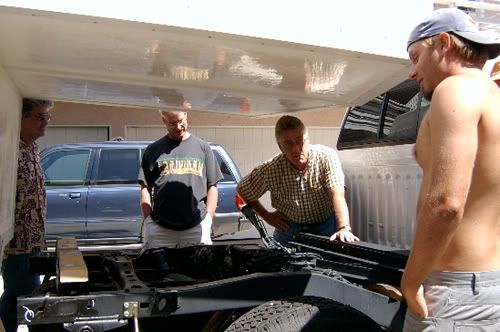
Ryan's uncles from left to right: Jimmy, Ricky, and Bobby
Ricky and Ryan step back and consider the situation.

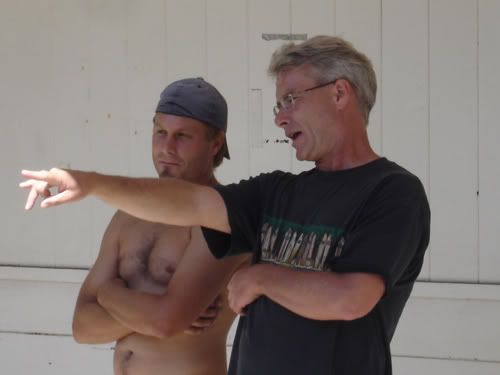
Practice lift with Ryan's dad, Dave, stepping in to assist.
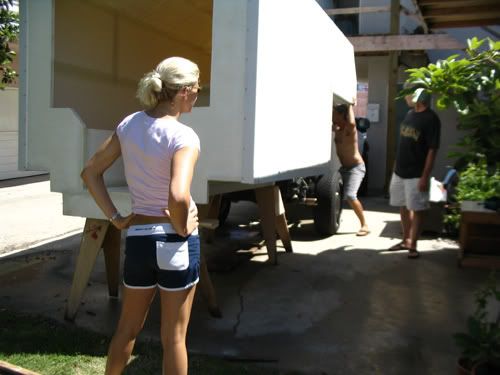
Me, supervising as usual.
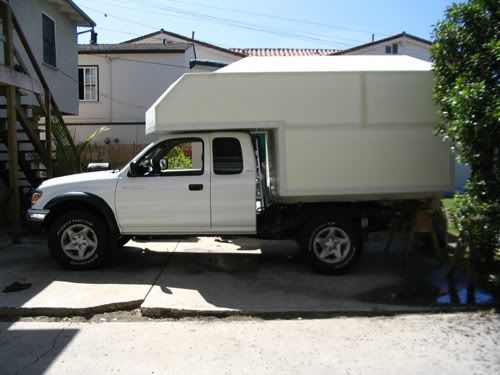
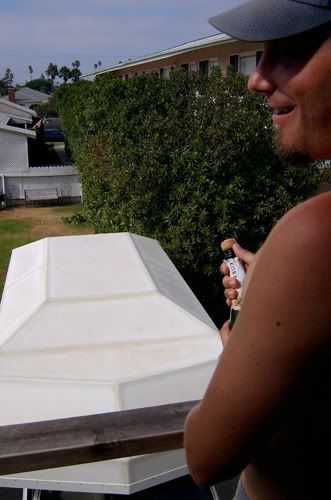
Ta-da! It's on there!
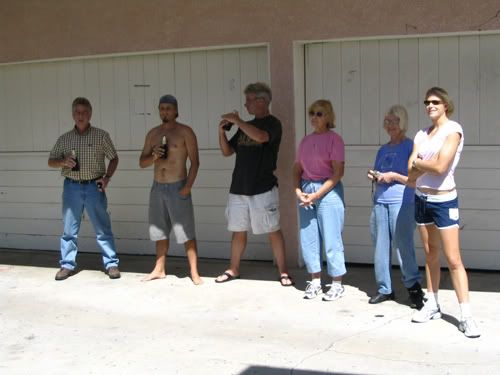
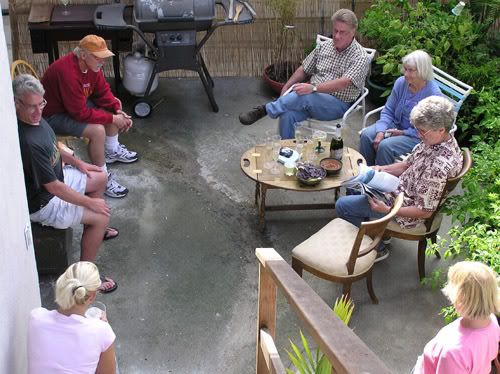
Surveying our success along with Ryan's mom, Carol, and grandma, Marge.
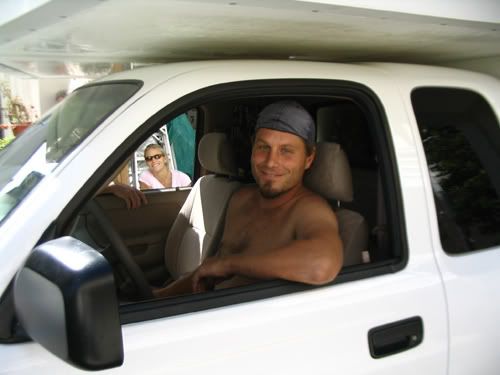
Ryan gets in to see how it looks from the driver's seat.
So what if it isn't entirely finished? It's time for some champagne! Sequence please...
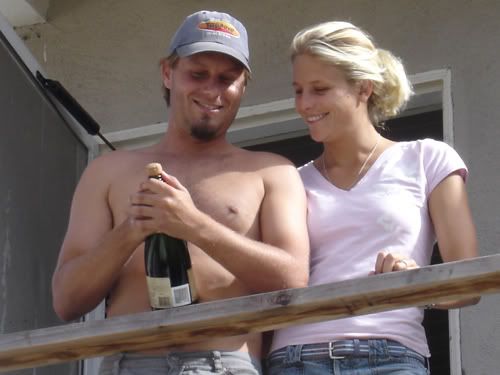
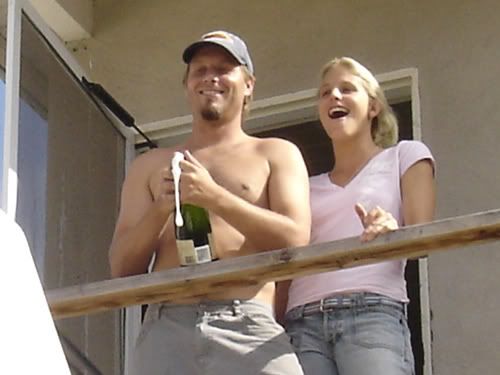
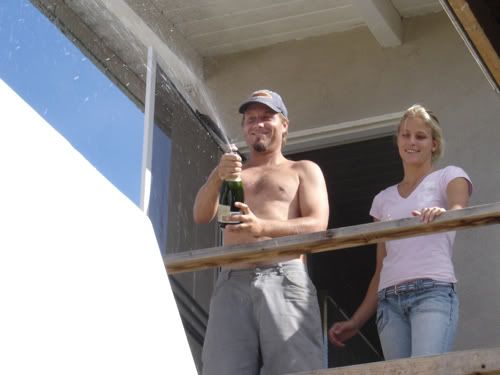
Thanks to Bobby for the photos!
Time for a celebratory dinner in the garden!
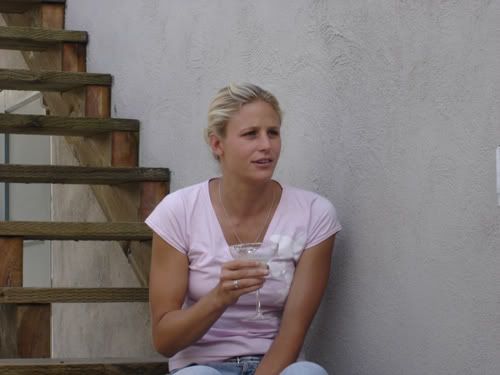
This margarita sure is strong!
Check back next time... you know you want to see what happens next!
1 comment:
I wish I was there to see all this in person. One of my favorite pictures is that one with Ryan in the drivers seat, and you can see your squawkful face perfectly in the background through the window. I sure miss you squawks!
Post a Comment