Nida-Core would prove to be incredibly difficult to saw through. We made our first attempts with a jigsaw, but quikly realized that tool was horrible at making long straight cuts. To add to the the drama, the fiberglass dust was itchy beyond belief, making for a very uncomfortable situation. It got into our clothes and didn't come out in the first wash, or sometimes the second. It got into our skin and soaping up in the shower only added to the irritation. We tried everything to protect ourselves, but no matter what we did, sawing was always a nightmare.

We borrowed a circular saw from Ryan's dad, but it didn't work very well either. The tough material ate through saw blades almost immediately. After going through two blades while trying to make one 6' cut, Ryan nearly had a meltdown. I quickly drove home to my parent's house to borrow my dad's saw. My mom warned me that it was "ancient" and might not work since it had belonged to my great-grandfather. It didn't work perfectly but it was an improvement. Once we finally purchased and install a carbide-tip blade however, our problems were solved! That blade lasted the rest of the project!

Putting the first two pieces together was very exciting. Of course we had to make sure that everything was perfectly square.

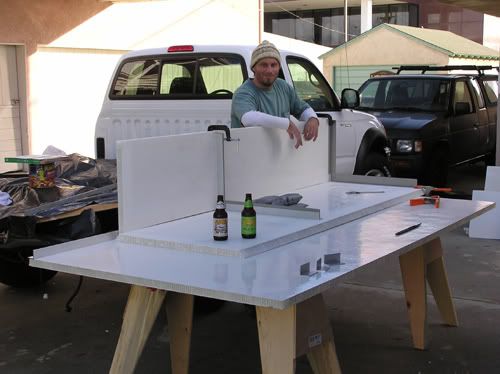
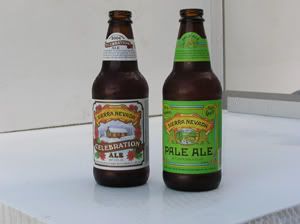
We toasted the first two pieces sitting together with a little Sierra Nevada refreshment. Since this was just before Christmas 2004, we celebrated with one of Ryan's seasonal favorites, the Celebration Ale.
Ok, back to work...
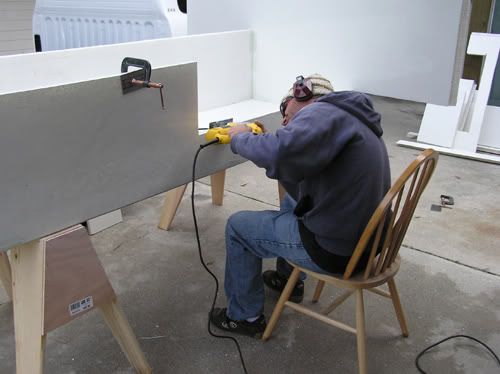
Here's Ryan employing the jigsaw once again. It was useful for some cuts.
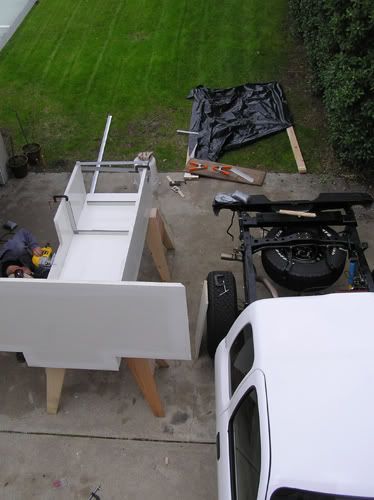
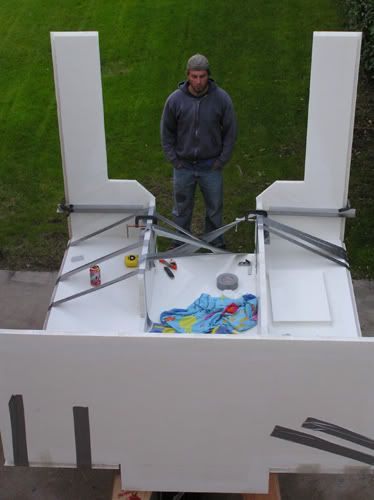
The view from above: (sometimes while he was sawing, I volunteered to run around taking photos, as far away as possible from the itch zone!)
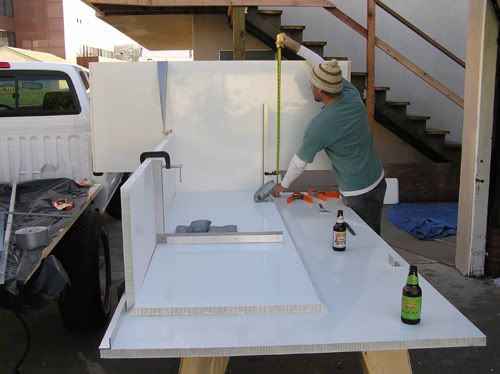
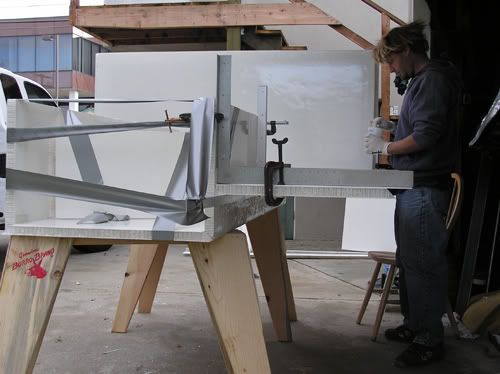
As things got a little more intense, it became even more important to make sure everything started square and stayed square while we applied the resin and fiberglass and waited for it to cure. Ryan constructed a special tool by riveting aluminum angle peices to a square so that we could use clamps to attach it to the camper skeleton. His friends in the construction industry would marvel at the tool and suggest that we could sell them and make millions! They did help tremendously, but what would a project like this be without duck tape?
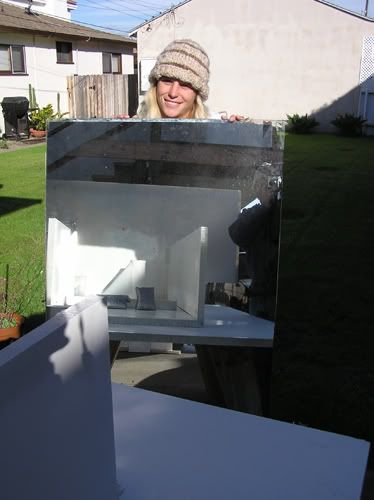
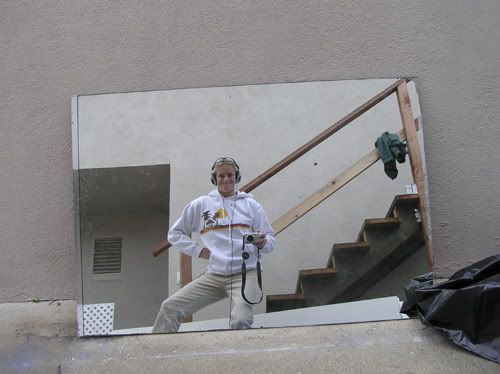
In order to speed up the resin curing process, we occassionally used solar-cure resin. I scored a big mirror in the alley behind our apartment and positioned it to blast sunshine right at the curing seams. I considered it a form of cross-training because it was really heavy to hold long enough for the resin to dry.
I also used the mirror to take silly pictures of myself...
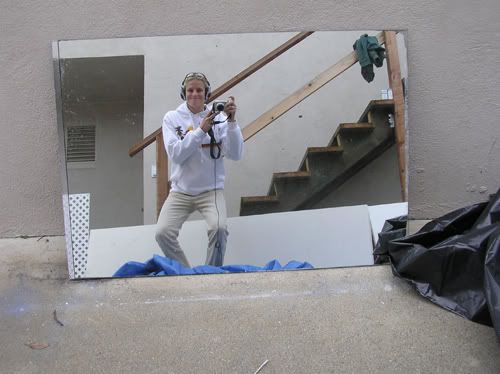
Maybe all those resin fumes did have an effect...
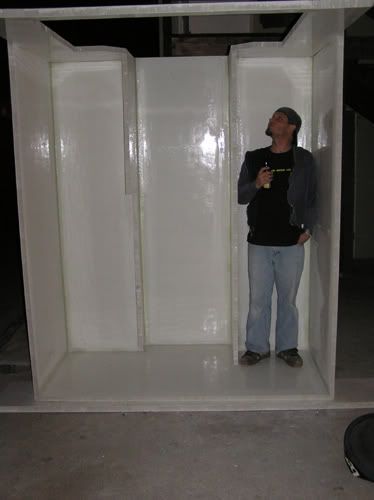
Here Ryan stands in what will be the doorway (code name: goal posts) and contemplates his creation. The winter of 2004/05 turned out to be one of the rainiest on record. It was probably not the ideal time to begin a project involving resin, that had to be constructed outside. The moisture inhibited a full cure, so following every rain dump we ended up soaking a full laundry load of towels trying to dry it all off.
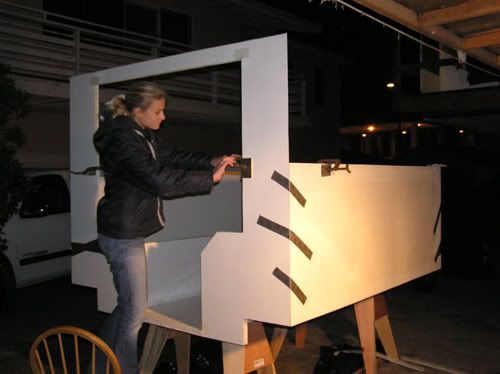
The fact that darkness fell not long after 4:30pm didn't help us either, significantly shortening our possible work time. Sometimes we had to do a little work in the dark. Here I am, removing ducktape, happy to finally call it a night.
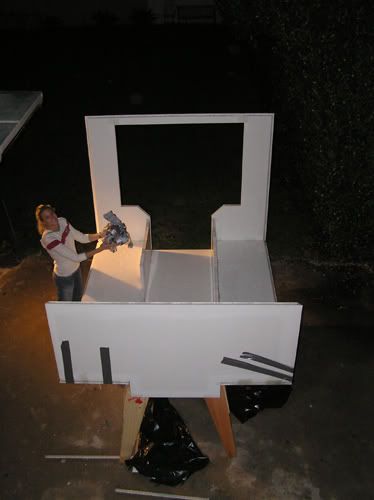
Once we had the first level of sides on, we felt it was really starting to take shape, and could finally get a better idea of what it would look like once completed.
With the lower half of the camper body constructed, we tipped it up on it's end in order to keep rain from pooling inside and be able to apply the resin and fiberglass tape to the underside seams without having to lay on the ground and work upside down. This only confused our neighbors further. We had moved to this apartment in October because it featured a stand-alone garage and a large concrete area to build the camper. By January we still hadn't gotten to know many of our neighbors. All they had seen was a young couple move in with a brand new truck, take the bed off, and start making a lot of noise with loud saws, constructing a very large and strange object with pungent chemical smells and even involving a huge mirror. They were certainly unsure what to think of us. Once the camper was up on it's side they started asking questions. "Is that a sauna?"
February and March 2005 were tough months in camperland. The incessant wind and rain, cold weather, and consistent NW swells made work on the camper nearly impossible. One weekend we forced ourselves to make some progress and applied the long seams on the underside of the camper. The following day they still hadn't hardened. There was too much moisture in the cracks, and fearing compromised strength we were forced to rip off all the work we had done and wait for the camper to dry completely before continuing. That little setback was bad for morale. Ryan experienced his second meldown of the project, claiming in frustration, "we'll have to wait until June!" With that, we took a few weekends off, just to go surfing.
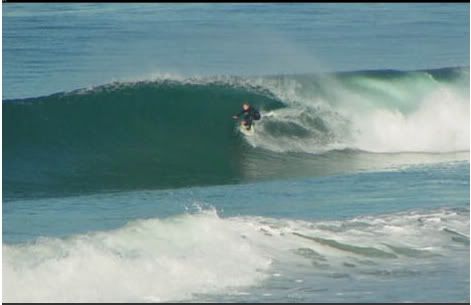
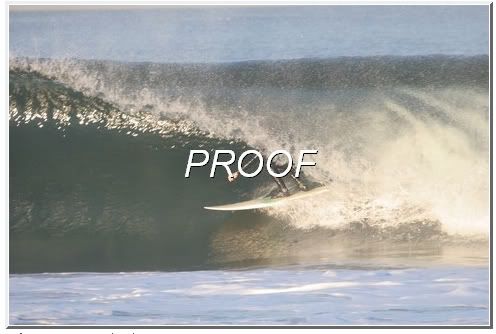
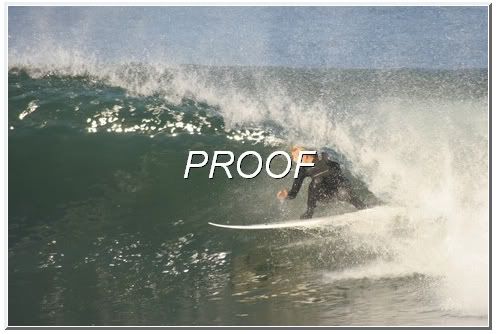
Ryan, pulling into a bomb at his home break on his homemade board named "the Seawing".
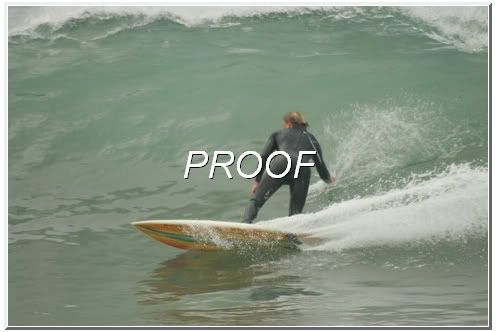
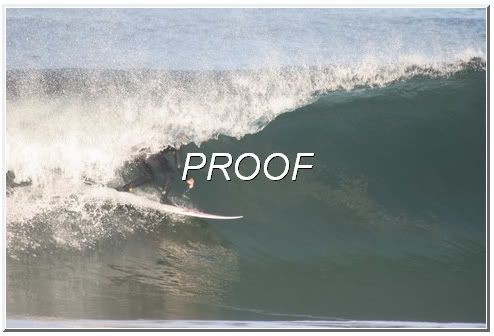
"Proof" photos from http://www.sbsessions.com
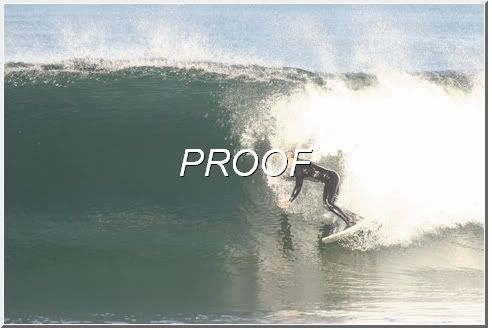
Ryan, probably not coming out of this one.
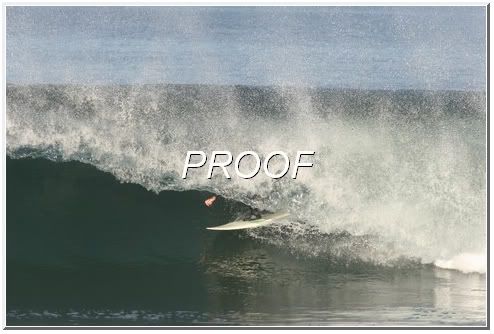
The photo below shows Ryan riding the fish he shaped and named "the Rocketship" with his resin swirl design, on a more playful day.
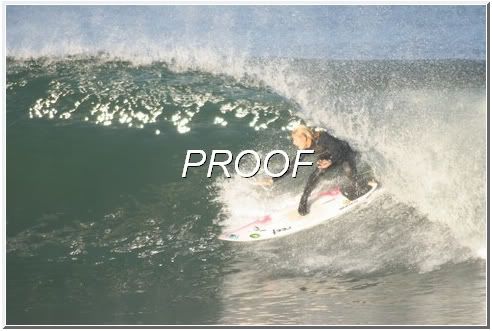
I even got a few closeout barrels myself.
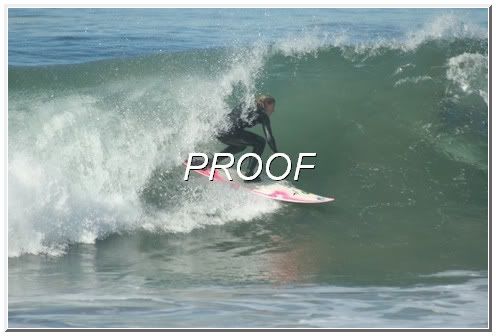
The lefts are never quite as good, so I was sometimes forced to go right.
"Look mom, no hands!"
Thanks, SB Sessions!
Tune in next time to see what happened when the rain finally stopped...
2 comments:
I love seeing the squawk face live on! Even though Poof (you), Goof (Hannah), Floof (Me) and Ooof (Heidi, of course) don't get to see each other much anymore, squawkfulnes still exists!
You guys rock! Incredible fab skills with minimum tools and no shop... It's also really great to see two people that obviously like and love each other working on a kick butt project and having it turn out great. Gives me hope that the world is indeed pretty cool. Keep doing whatever you guys are doing. Some random dude.
Post a Comment