While our maiden voyage of the Super Camper was certainly a success, there were a few things that we decided needed fixing.
First, the stock springs on the truck were pretty weak, especially when loaded with the camper. We decided to add a little more support by adding a set of AirLift air bags.
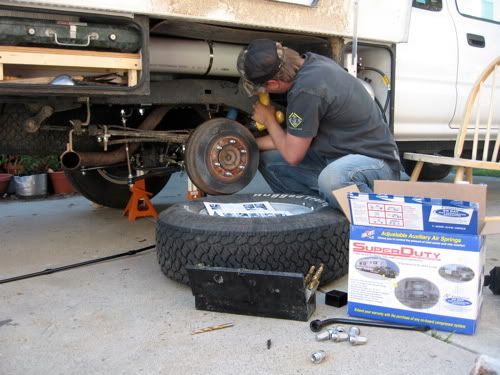
While the directions claimed ease of installation, like most things it is never as easy as you think it will be. Putting the springs together, lining them up, and drilling the holes was simple enough, but the self-tapping screws included with the springs would not self-tap. Ryan tried to use his tap and die kit to help the screws with their job, but still the screws would not go in. Ryan launched into a tirade on the cheapness of the whole setup and wondered aloud for the hundredth time why nothing ever works correctly. Eventually, he gave up and drove to OSH to buy nuts and bolts. This strategy added a new dimension of difficulty to the installation since the access hole on the other side of the frame is tiny. Getting the washer and nut onto the bolt involved an incredible amount of patience and finger dexterity. We lost several washers and nuts into the dark cavity of the frame despite many fishing attempts with a magnet. Finally we realized that my fingers are longer and thinner than Ryan's and my capacity for patience is greater as well. I was eventually able to get the harder-to-reach washers and nuts in place.
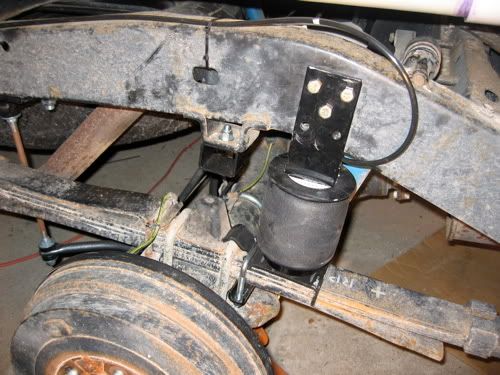
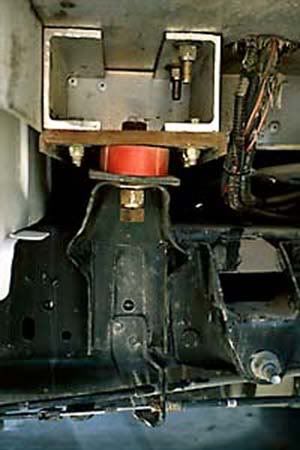
Here is one of the airbags, in place and inflated.
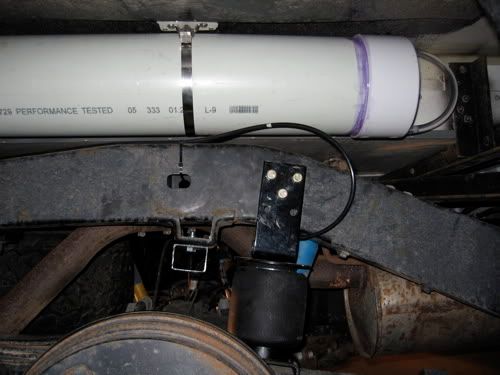
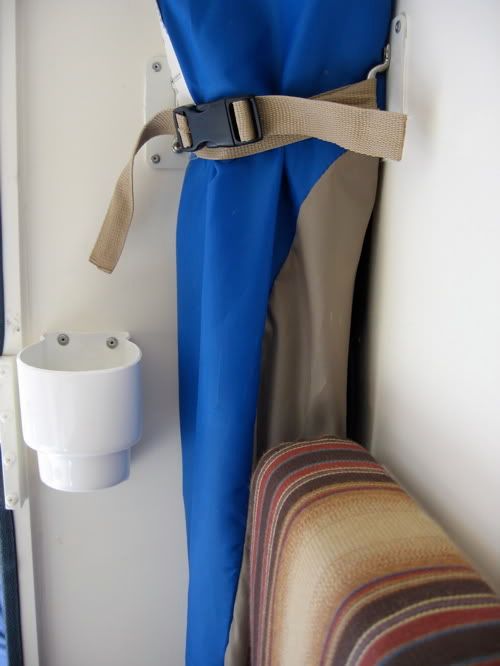
In this photo you might notice the 6" PVC pipe that we added for extra water storage. This tank holds 7.5 gallons and is fitted with a pump and a long hose with several attachments for a sprinkling shower or a high pressure sprayer. I'm guessing we will still employ the portable solar shower in most instances, but in warmer weather or for hosing out sandy wetsuits this setup will be very useful.

Here's what the pipe looked like before it was attached to the camper.
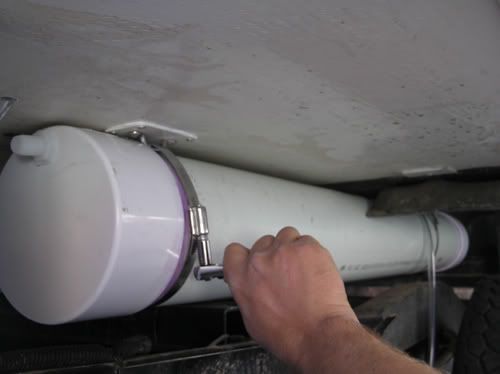
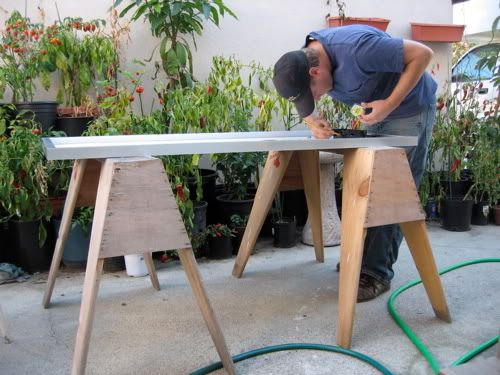
Here's Ryan attaching it.
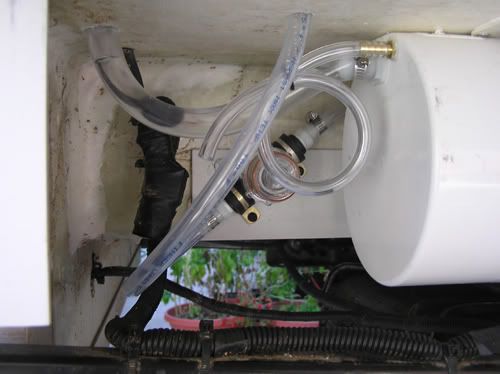
This is the length of tubing and the filter to keep the pump safe from any debris that might somehow find its way inside.
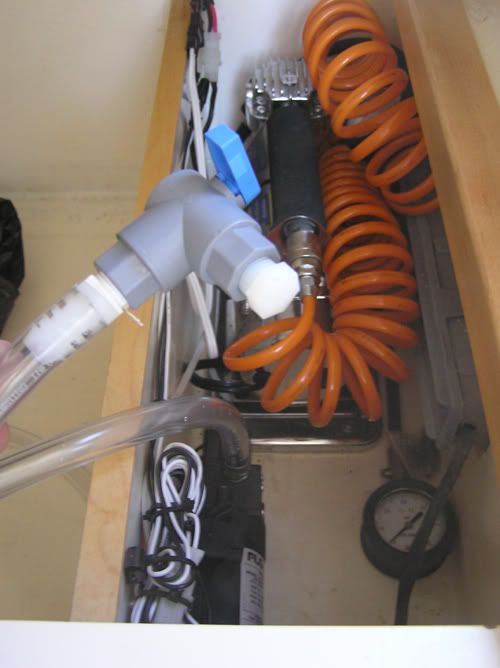
Finally, here is the sprayer. It sprays about 15 feet, so watch out!
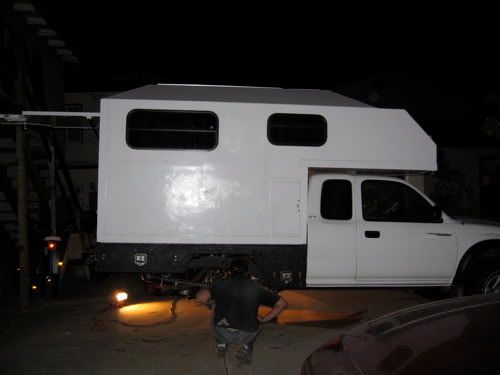
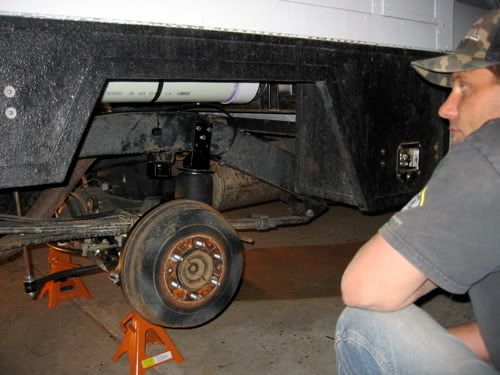
Back to the air bag installation, with the camper still resting on the jack stands, you can see that the air bags raised the camper a fair amount. Of course the angle became less extreme once the tires were back in place. Overall the air bags raised the bumper 1.5 inches.
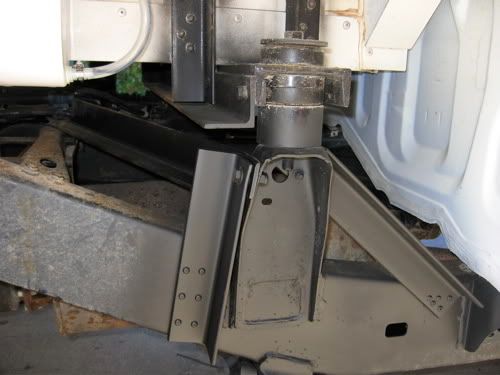
The camper also had a tendency to really rock side to side, especially after a big truck passed us on the narrow roads in Baja. So, we installed a Hellwig rear stabilizer bar.
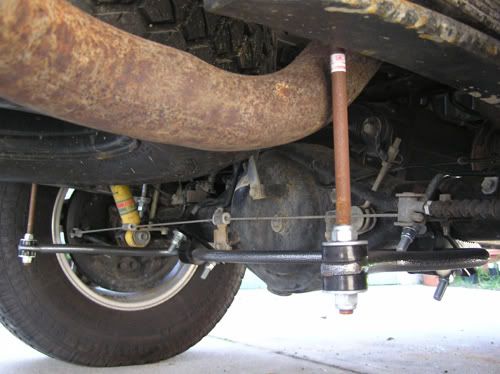
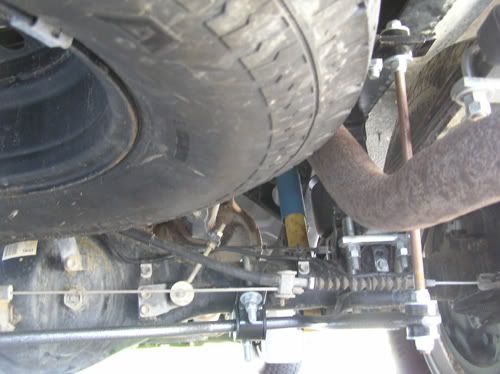
Below is another view that shows how it attaches to the frame.
Another more basic need we realized while in Baja was a place to set drinks down. We purchased two drink holders from Boater's World and installed them in easy-to-reach places.
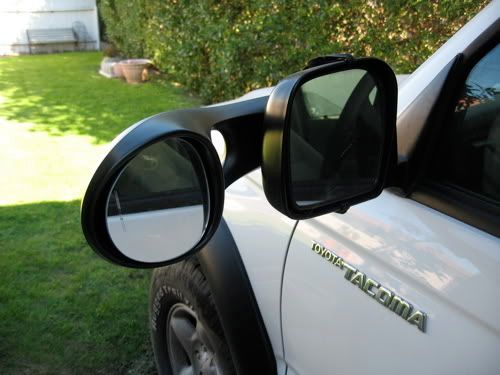
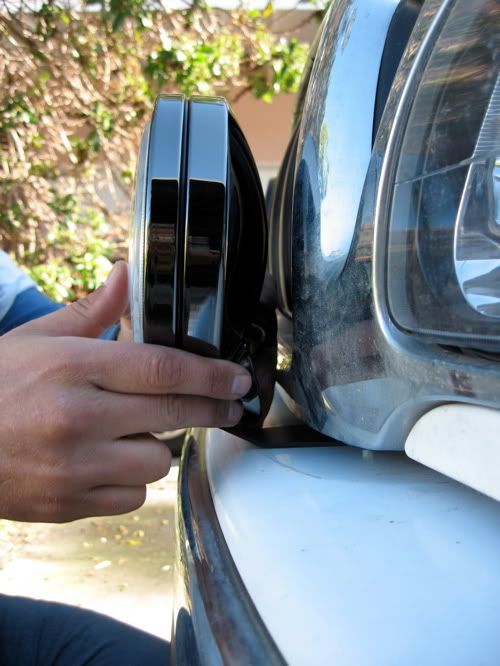
Before our first trip, we bought mirror extenders. They attach to the mirror with plastic hooks and a nylon strap, with a few suction cups to help hold it in place. The extender tended to vibrate and slip out of place. Cranking it down as tight as possible would result in the plastic hook snapping off. In wet weather the nylon strap stretched and caused the mirror to sag.

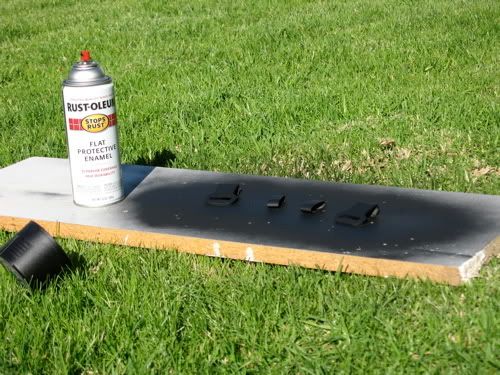
Ryan decided to add a second strap with metal hooks. He made metal peices into hook shape and spray-painted them black:
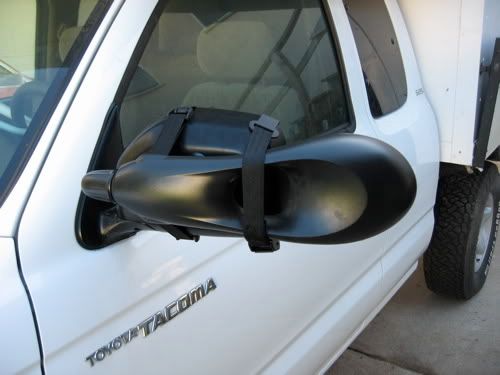
I then sewed on a heavier nylon strap. Hopefully this will keep the mirror extender in place.
In order to keep the auxillary battery charged to run the refrigerator and lights, we ordered a Kyocera 130-TM Solar Panel from Wholesalesolar.com.
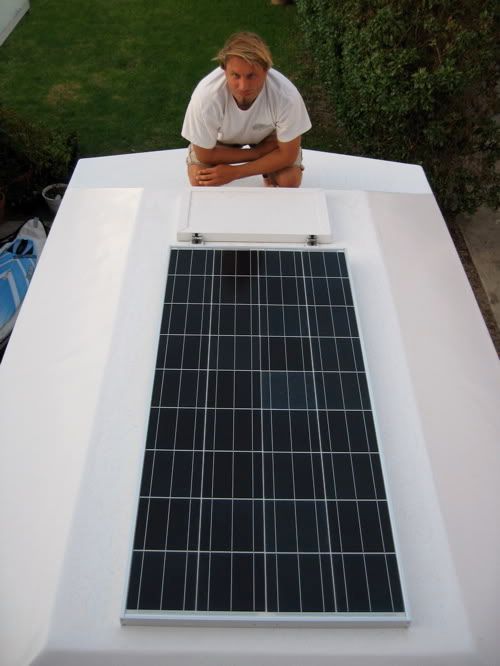
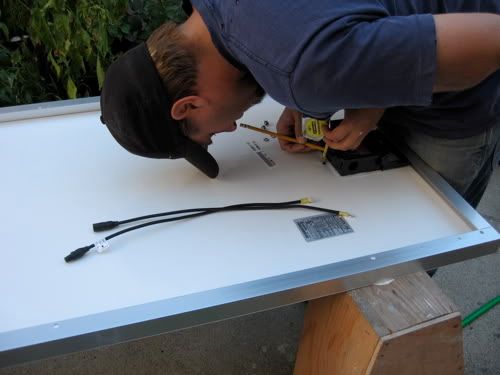
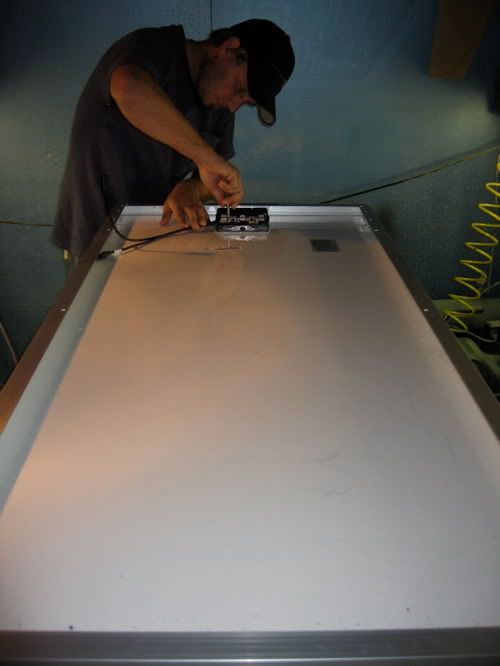
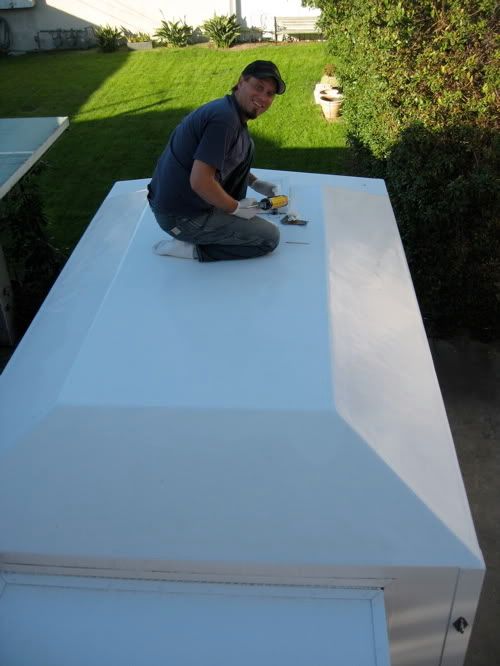
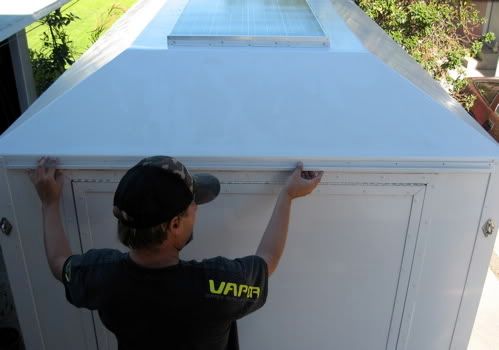
Unfortunately, due to a confusing specification explanation on their website, we didn't realize that the panel came with a 4" high junction box on the back that prevented the panel from being able to be mounted flush to the top of the camper. You can see it resting at an angle in this photo.
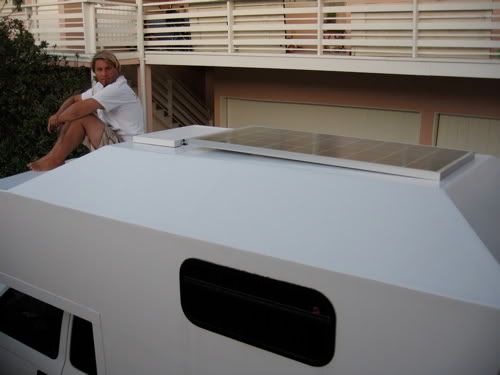
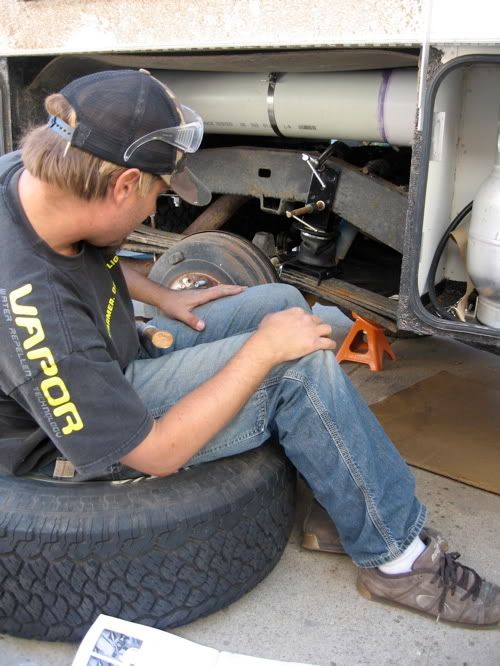
Ryan wasn't quite sure what to do about that. We were worried that cutting down the box might void the warranty and considered returning the solar panel. While he sat on the camper to ponder the situation, I was busy packing my surfboards for Hawaii.
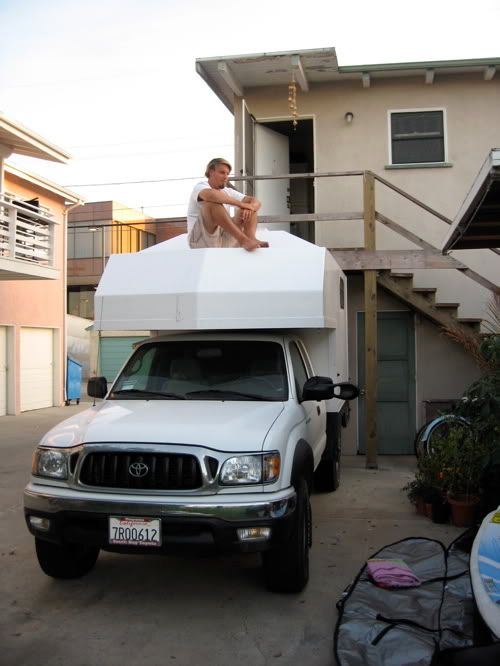
You can see my surfboard bag on the lower right corner of the photo.
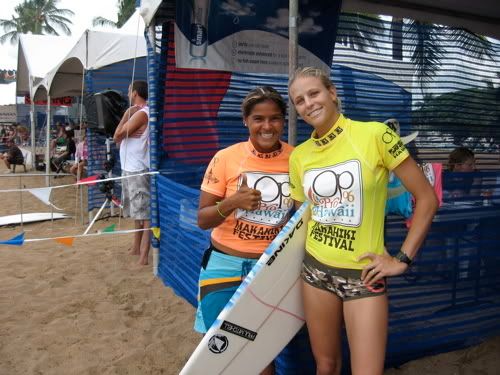
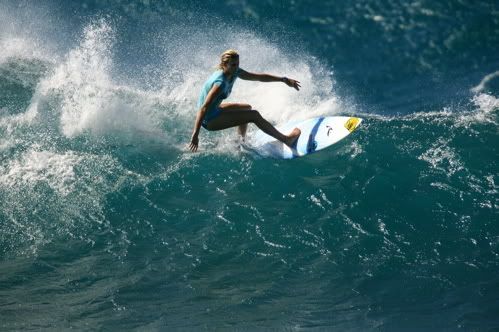
I went to Hawaii to compete in the Op Pro at Haleiwa. Here I am in my jersey about to go out and compete against my friend Lisbeth Vindas-Dias from Costa Rica.
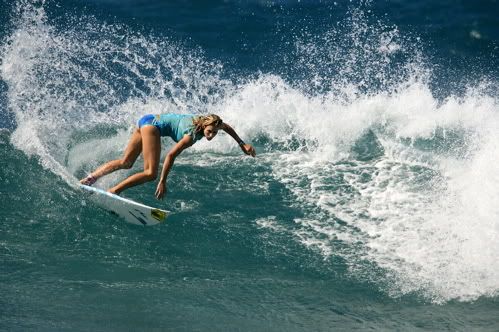
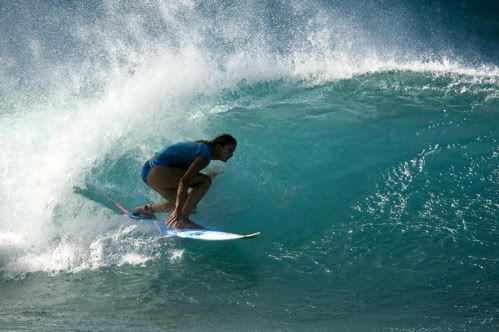
Another part of my job in Hawaii is to get photos for my sponsors. The crowds and tricky conditions combine to make the job difficult sometimes. Here I am surfing at Rocky Rights on the North Shore of Oahu.
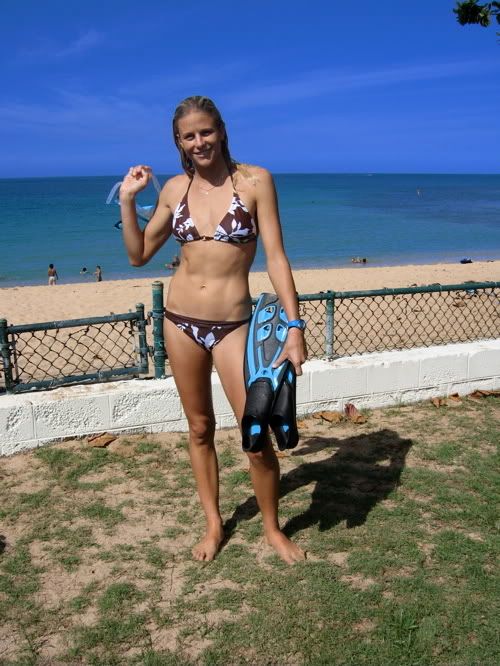
The waves weren't the best the first week I was there (notice the flat ocean in the background) so I filled the time by snorkeling.
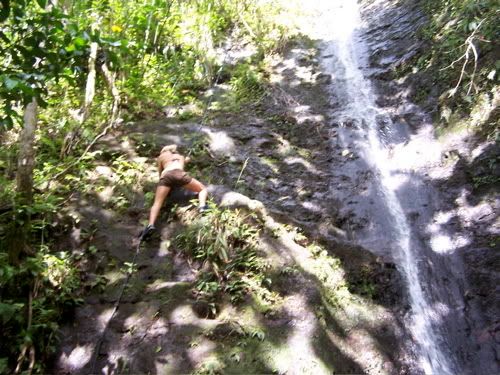
My friend, Lindsey Baldwin and I went hiking with a few of her friends and climbed a waterfall.
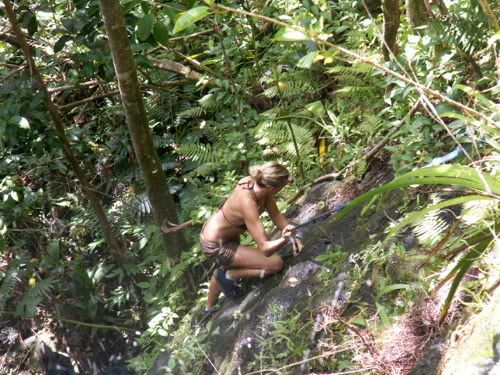
It was a little scary without a harness because the rocks were slippery, but it definitely produced an adrenaline rush to make it to the top.
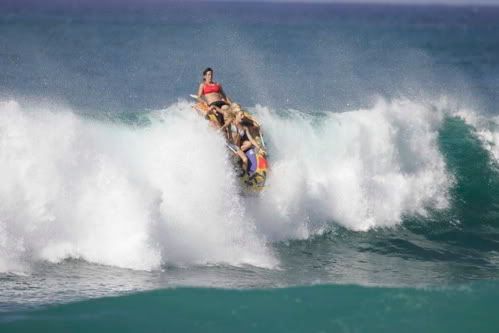
Once the waves did pick up, O'Neill had a team challenge which broke the big group of girls into teams. We competed in boogie boarding, innertubing, and rafting. This was one of the biggest waves I caught on my trip. I never would have expected the biggest wave would be ridden in an inflatable raft with a couple friends. We actually made this drop, believe it or not!
I love Rocky Lefts!

For more photos and a lot more stories about my North Shore experience, check out my other blog at : http://www.lat34.com/surf/holly_beck_blog
Back at home, Ryan had decided it would be too much trouble and expense to return the solar panel. He didn't want to have to raise the overall height of the camper any more than necessary, so he decided he would have to cut down the box.
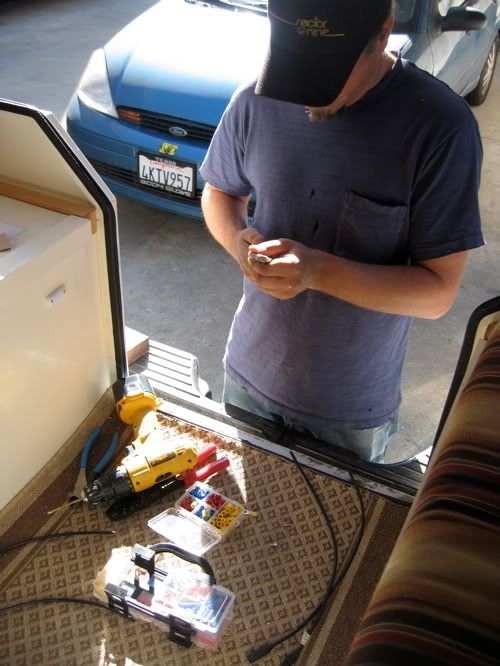
He used his grinder to carefully grind down the plastic and then attached the wiring.
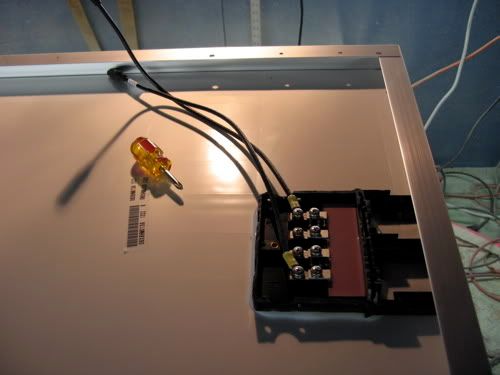
We then ran the wires along the inside and covered them in white heat shrink so that they would blend in better.
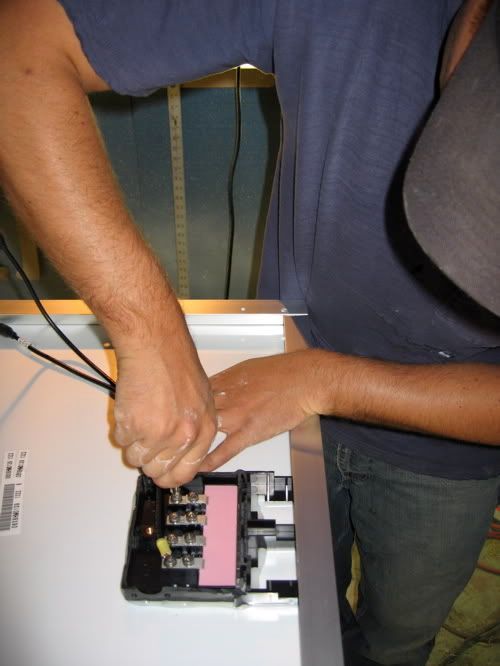
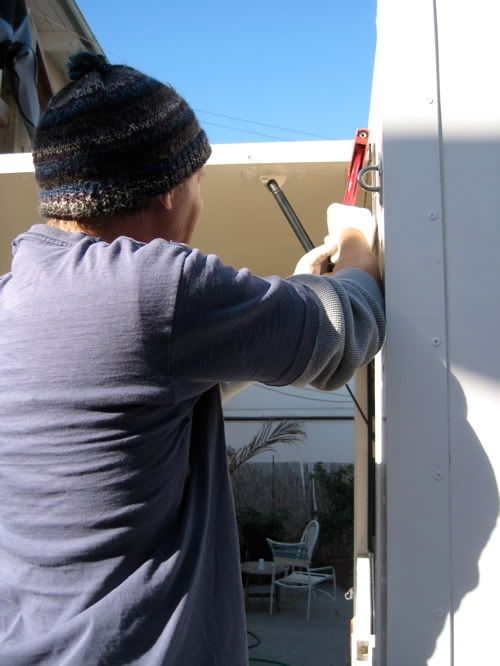
Here Ryan is sealing the outlet hole for the cables that attach the solar panels to the charge controller and battery so that no water leaks in.
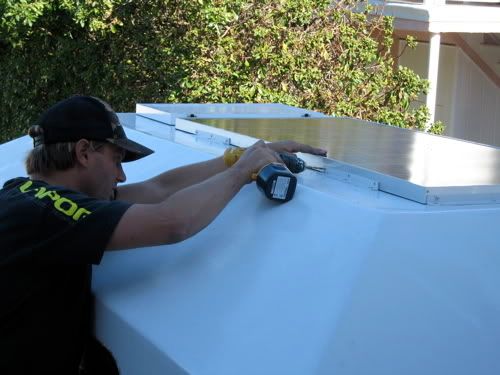
Finally, we mounted the solar panel on top.
The panel is 130 Watts, 10 Amps, at best. So far we haven't seen any more than 5 Amps because the panel is mounted flat and it is winter, so the sun isn't directly overhead. Our Norcold refrigerator only draws 2.5 Amps when cycling, so the solar panel more than keeps up with it.
On our trip, we noticed that with the door open, water dripped along the edge of the door, ran under the corner and then fell onto the gas spring which would carry drips inside the camper. Ryan figured if he installed a little piece of metal along the edge that hung down slightly, it would keep the drips from running over the corner and make them fall straight down instead. We ended up cutting a strip from our mini-blinds and riveting that to the door since it was thin and light and a good size for the job.

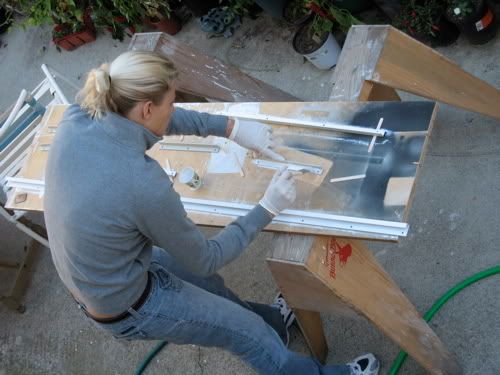
We also decided to install a gutter to help keep the drip flow down. Here I am painting it (as well as the pieces that we used to mount the solar panel).

Ryan, putting the gutter in place.
There is a poem by Oliver Wendell Holmes called "The One-Hoss Shay" about a man who built a sleigh (shay) in "a logical way". Taking into consideration that there is always a weak link, he made sure that every inch was as strong as the next. Here is an excerpt:
"Now in building of chaises, I tell you what, There is always somewhere a weakest spot,-- In hub, tire, felloe, in spring or thill, In panel, or crossbar, or floor, or sill,
In screw, bolt, thoroughbrace,--lurking still, Find it somewhere you must and will,-- Above or below, or within or without,-- And that's the reason, beyond a doubt, A chaise breaks down, but does n't wear out.
But the Deacon swore (as Deacons do, With an "I dew vum," or an "I tell yeou," He would build one shay to beat the taown 'n' the keounty 'n' all the kentry raoun'; It should be so built that it couldn' break daown! --"Fur," said the Deacon, "t 's mighty plain Thut the weakes' place mus' stan' the strain; 'n' the way t' fix it, uz I maintain, Is only jest T' make that place uz strong uz the rest."
Ryan's performance of the poem in its entirety was quite a sight! Frank Robinson, founder and current president of Robinson Helicopter distributed the poem to all engineers with a hand-written title reading "Robinson Helicopter Company design philosophy." If you'd like to read the entire poem, it can be found here:
http://www.williamson-labs.com/one-hoss-shay.htm
With this inspiration, we sought to strengthen our weakest links.
Of course, weight has always been a big concern. After reading the posts on http://www.expeditionportal.com we finally motivated to do something we had been meaning to do for a while. We drove out to Long Beach and weighed the thing. It was a little intimidating pulling up to the scale amidst all the serious truckers. We learned that the truck with camper, dry, weighs 4,520 lbs. It turned out to be about 300 lbs heavier than we were hoping, which concerned us. Eventually we may purchase steel wheels to replace our aluminum set, and will probably weld support to the frame.
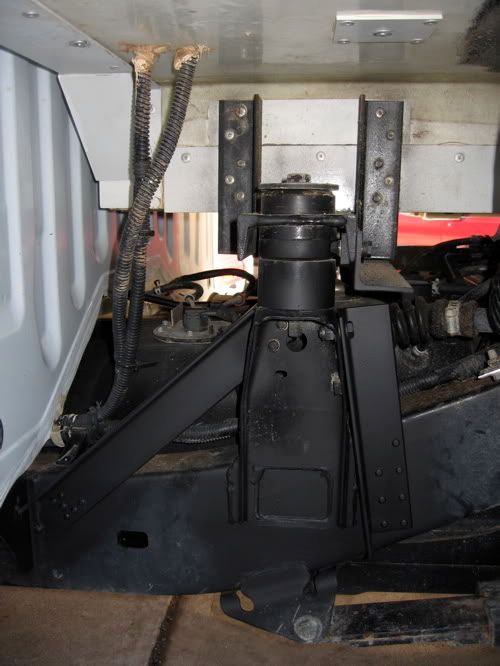
Ryan has been concerned with the weakness of the bed mounts for some time. After seeing this photo on http://www.earthroamer.com demonstrating what could happen, and knowing how much the camper actually weighs, we decided to immediately add support to our mounts.
Ryan fastened two inch steel angle to support the bed mounts from every angle possible.
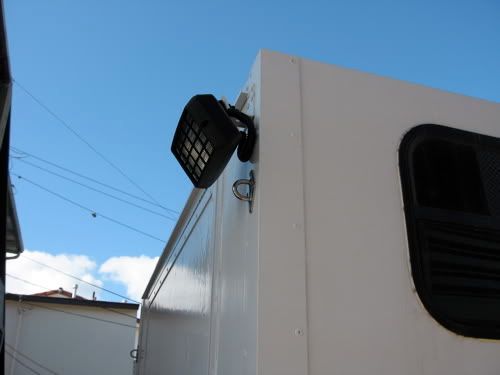
Ryan had purchased a flood light a while back and we have been trying to decide what to do with it. Reversing the camper at night is difficult due to low visibility. In order to help shed some light on the situation, we decided to install the flood light in the back. Ryan wired it so that it will come on when the camper is put in reverse. It also has its own switch in the back so that it can be turned on to help light up the camping area if needed.
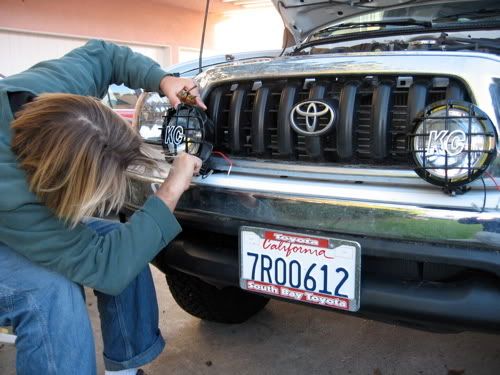
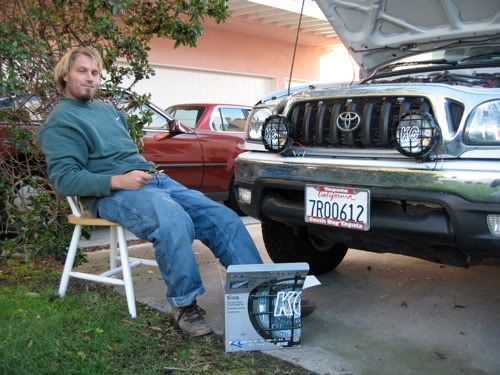
On the subject of lights, we bought off-road lights to help see all the bumps in the road. Rather than buying a front bar as a mount, because they are expensive and heavy, Ryan decided to make his own pieces to mount the lights to the bumper.

After extensive research and debate we bought KC Hilites Slimlites in Titanium because we prefered them to the 8" size that most other companies offered. Plus, they look cool.
With that, our modifications are complete (for now)! We are leaving tomorrow for another test run in Baja. Merry Christmas and Happy New Year, we're outta here!
3 comments:
you RYAN ARE DAMN HANDY !!!! I'M INSPIRED
I'm the kind of guy who loves to taste unused things. Currently I'm manufacturing my personalized solar panels. I'm making it all by myself without the help of my men. I'm utilizing the internet as the only way to acheive that. I stumbled upon a truly amazing site which explains how to make photovoltaic panels and so on. The website explains all the steps involved in solar panel construction.
I am not exactly sure bout how precise the info given there is. If some experts over here who had experience with these things can have a look and give your feedback in the thread it will be grand and I'd really value it, because I truly take an interest in solar panel construction.
Tnx for reading this. U people are great.
What a brilliant build.
I have a web site here in the UK http://www.diy-motorhome.co.uk/ which aims to encourage folks to convert their own camper vans. If its OK with you I'll do a feature on your blog.
For UK over 25s thinking of building their own Campervan we are able to provide campervan insurance once it is a finished project provided it is permanently a campervan.
Post a Comment