For a short video clip of me giving a tour of the inside of the camper click here (be sure to click your browser's "back" button when you are done: http://www.jettygirl.com/surfers/pages/vid.beck.holly.camper.html
Some of the plans I discussed in the video did change as the project progressed as you will see below...
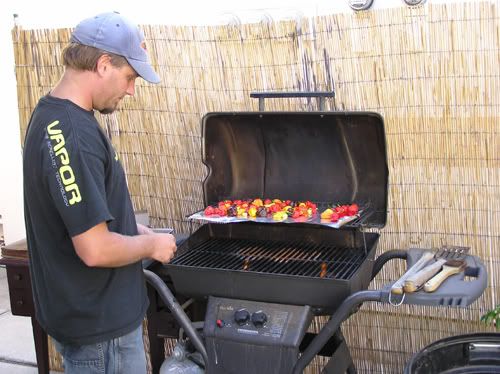
After all the work that went into sanding and painting the exterior of the camper, we needed a break. The chile season had come to an end and we had a plethora of chiles on our hands. Ryan roasted some of the Habaneros, dried others, and used handfuls to make his famous Habanero Honey Mustard.
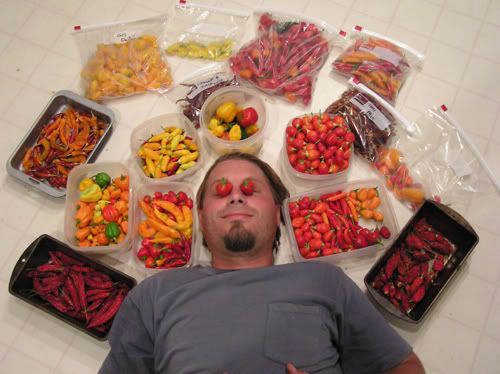
The rest of the chiles were organized by type and stuffed into the freezer to help heat up the coming winter.
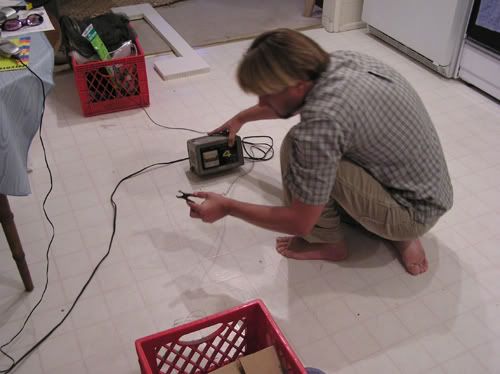
In thinking of how to construct the interior structures such as cabinets and storage dividers, Ryan considered using a hot wire to cut the Nida Core in half. He tied a wire between two milk crates, used a car battery charger to make it hot, and then used it to slice through the plastic core.
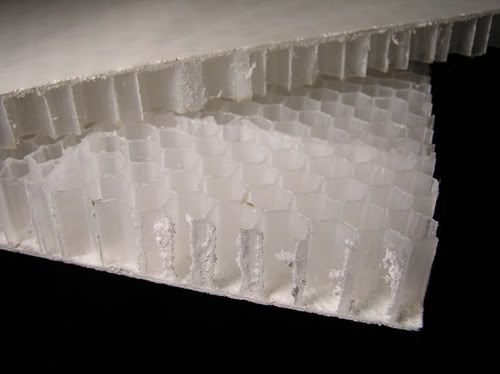
It smoked, filling the kitchen with the smell of burning plastic. While it was difficult to keep the cut perfectly straight, the experiment did work.
In the end we decided against using the hot wire technique and stuck to using whole pieces of Nida-Core to divide our baggage area into individually sealed compartments, complete with plugged drainage holes to accomodate wet wetsuits or even a ice filled beverage stash.
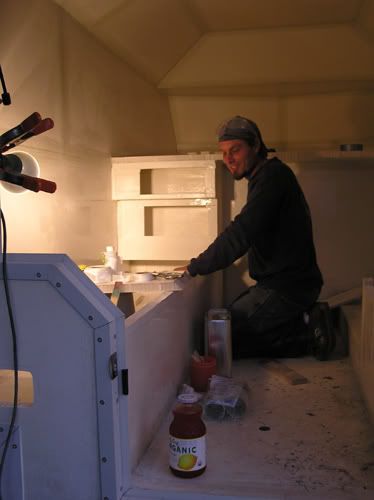
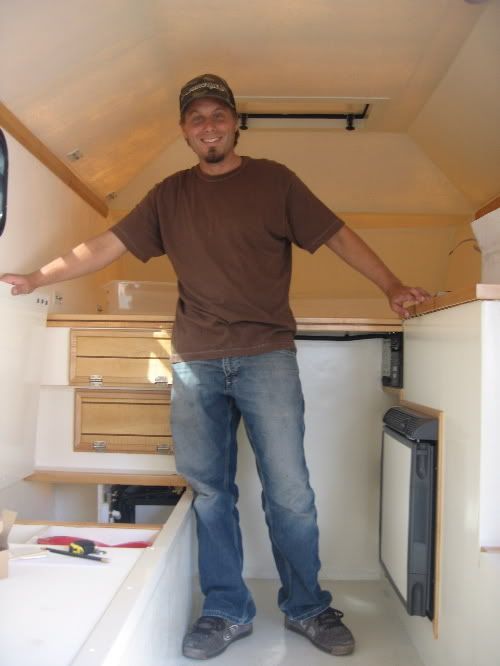
In this photo you can see the cabinets that were specially designed to fit cans of refried beans (the upper cabinet) and six packs of beer and soda (the lower).

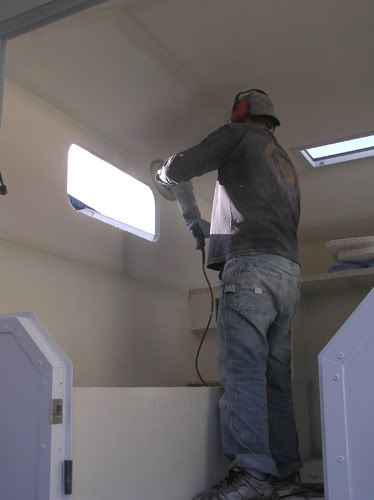
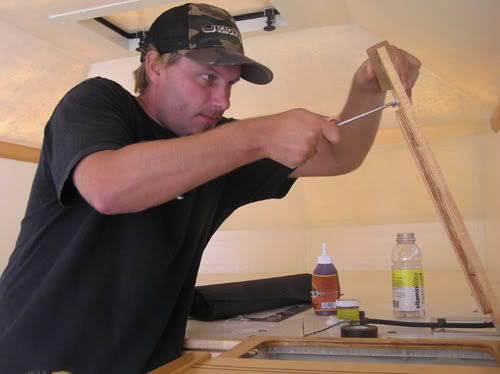
Other than the fact that I probably should have been wearing a mask while working with resin in an enclosed space, this photo shows the "escape" hatch above the bed.

By now, it is springtime and next year's crop of chiles is germinating in the warmth of the window.
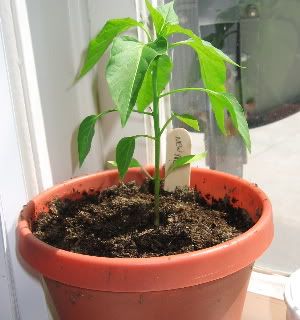
Here's a New Mex chile who turned out to be an early sprouter. Isn't he cute?
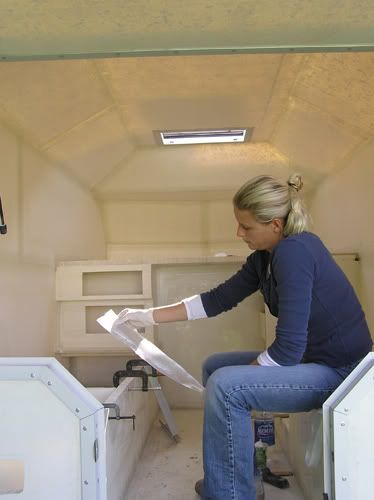
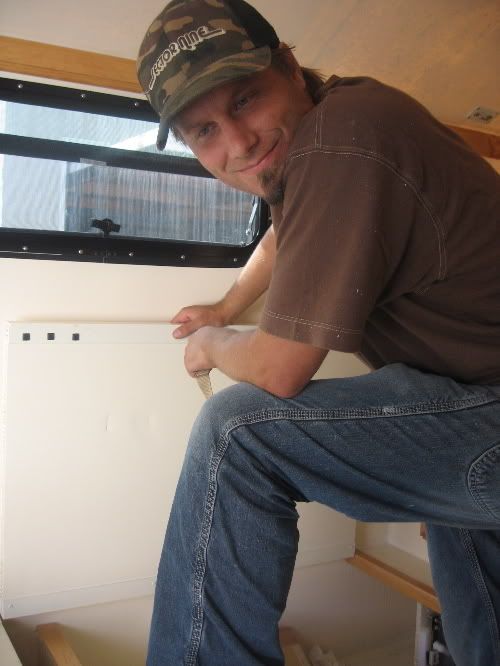
The interior compartments and cabinets are complete, so it's time to paint the inside. You know what that means, more sanding! Sanding the inside was even more difficult than preparing the exterior because it involved sanding the ceiling upsidedown. The bed area was also a challenge and we would call it "good enough" without it being perfectly smooth. We are only human afterall.
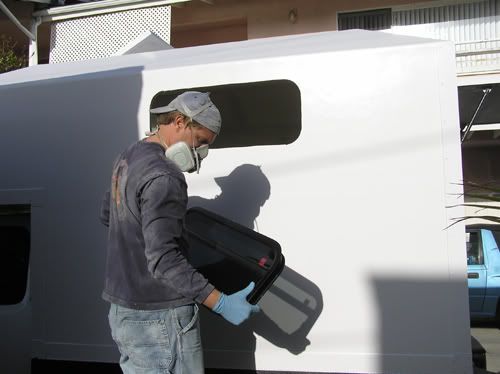
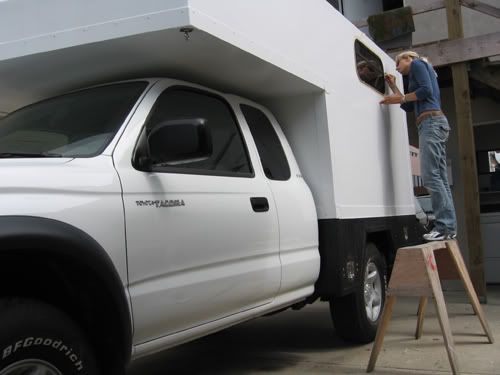
You will of course notice the cutouts for the windows. Choosing the windows was an involved process. Security was a high priority. We wanted to guarantee plenty of airflow without allowing an easy break-in. The majority of windows on the market are of the "slider" variety. This type restricts vision because of the bar in the middle, as well as airflow because only half of the window opens. We prefered the "crank-out" type since the entire bottom half of the window opens to allow a breeze of fresh air. We were able to order this type from Buccaneer Manufacturing in a dark tint and a skinny size so that even if the window was broken the banditos would not be able to fit through.
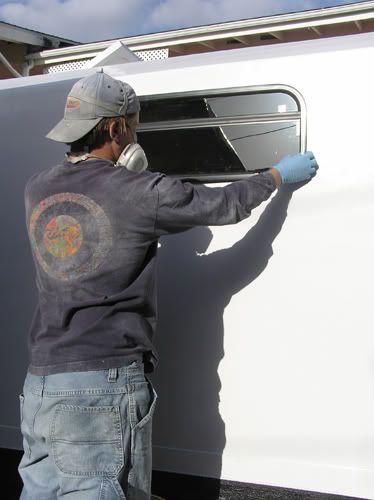
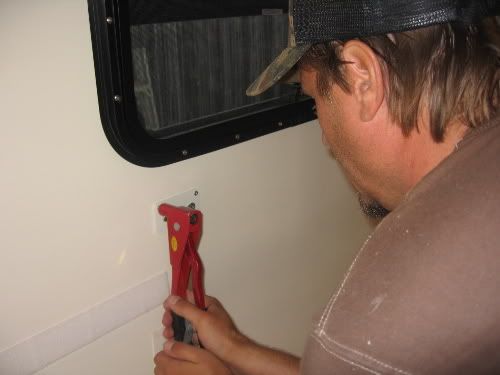
We used window putty purchased from Myer's RV Supply in Torrance to cushion and seal the windows, and then removed the excess with a razor blade.
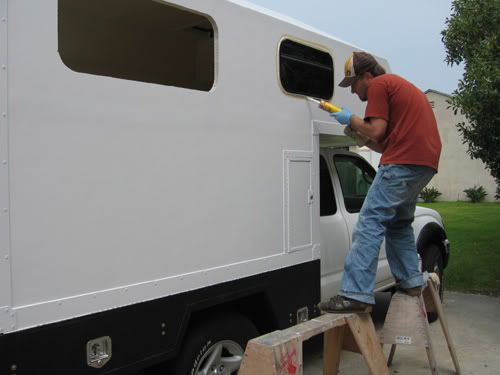
Then we applied a sealant given to us by Jeff Biggs.
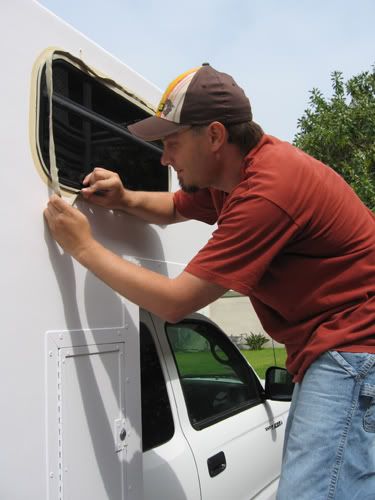
On the topic of sealing, here is Ryan applying the seal to the utility boxes. We used this same type of seal around the door.
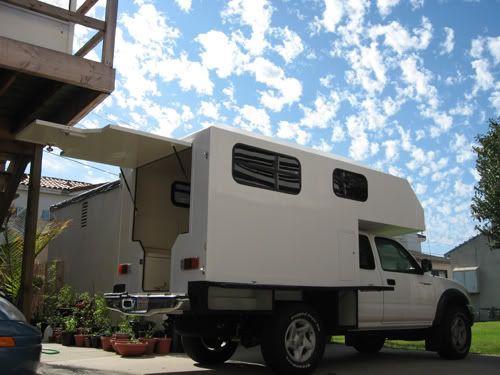
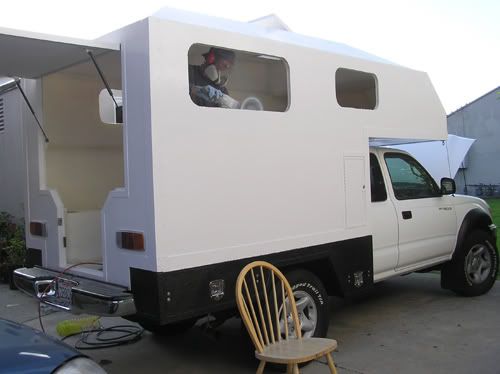
Voila! The camper is painted inside and out, the windows are in, the boxes and door are sealed, the benches are attached and construction is complete!
Now it's time to make it comfortable...
One of the key features of camping is taking care of "business" in the great outdoors. However, there are some times when it would be really nice to be able to do that inside. For example, it might be raining, or the middle of the night, or we might be in Baja where there are very few bushes or trees to hide behind. I suggested that we come up with some way to relieve ourselves from the comfort of inside.
My Dad told me a story of his uncle drilling a hole in the floor of the backseat of their car so that the boys could relieve themselves on long car rides without having to stop. That gave us an idea.
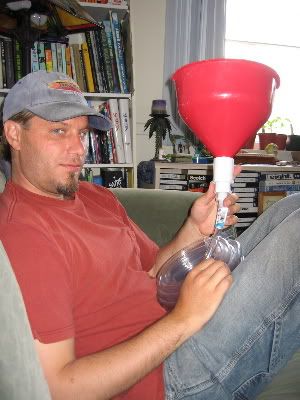
We found a female friendly sized funnel at OSH, and Ryan fitted it with a long hose. We made a special compartment for it within the baggage area, drilled a hole, attached the hose to run outside discreetly behind the tire, and our indoor urinal was complete! Of course this is for #1 only, however we theorized that a bag could be placed inside the funnel to accomodate any sudden #2s, which after eating tacos in Mexico could be many.
It looks like a beer bong, but make no mistake, this is for eliminating beer from the system, not introducing it!
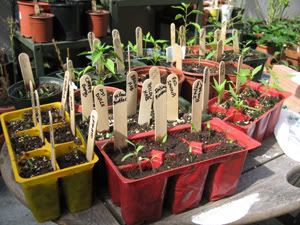
The weather is warming. Our original seedlings are already growing outside, but we decided to plant a few more to be sure we would end up with enough of our favorites. Last year we mostly grew exotic varieties that were interesting but not as useable. This year we stuck mostly to the New Mexican varieties that we could put on burgers, in salsas, or stuff. We also planted quite a few varieties of tomatoes.

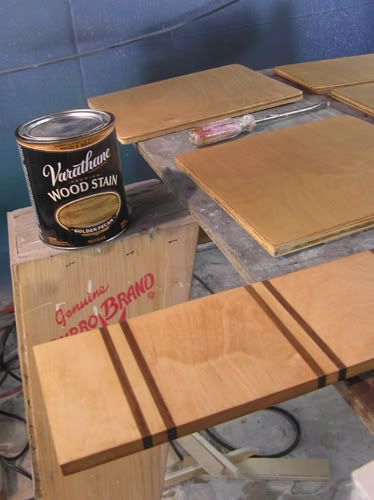
After putting this much work into the camper already, we wanted to go all the way and make the interior as nice as possible. Ryan suggested using wood trim to give it that "finishing touch". We purchased Maple from Mouldings Unlimited to trim the cabinets, and even bought crown moulding! We stained them with Varathane Golden Pecan Woodstain and then weatherproofed them with Helmsman Clear Satin Polyurethane.
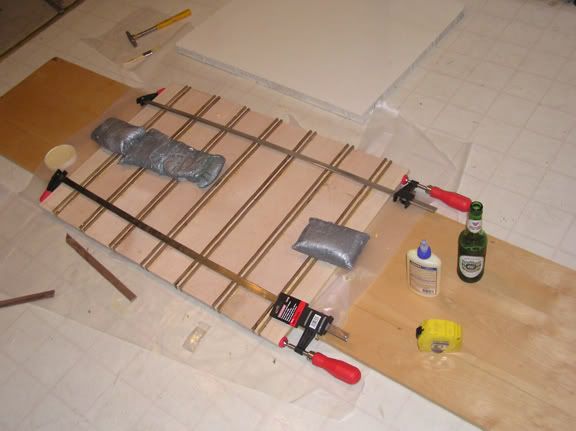
For the counter top, Ryan really outdid himself. He used Rich Wright's table saw to cut the maple and walnut into strips and then glued them together with Titebond wood glue in this beautiful pattern.
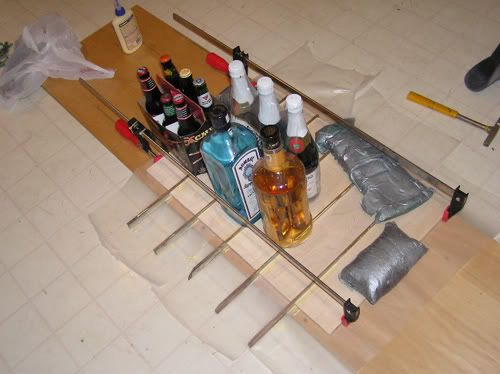
The doors for the cabinets were made with a simlar pattern, and he emptied the liquor cabinet (and Martinelli's from Uncle Ricky) tyring to keep it flat and together while the glue dried.
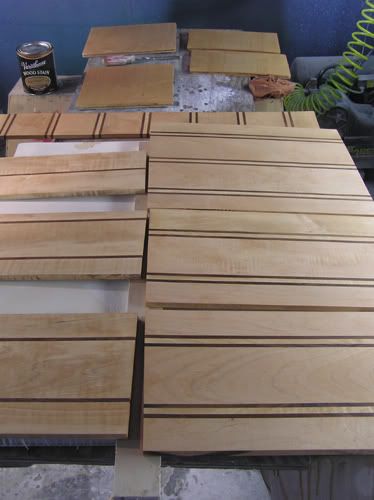
The pieces were cut to the appropriate sizes, sanded, stained, and finished.
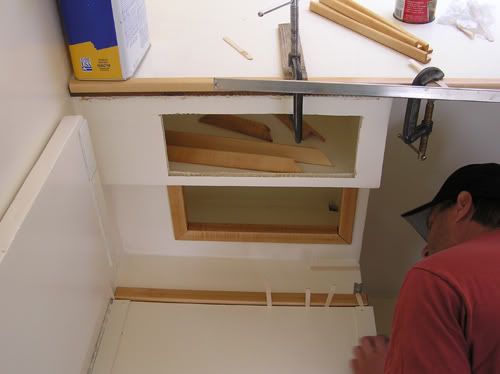
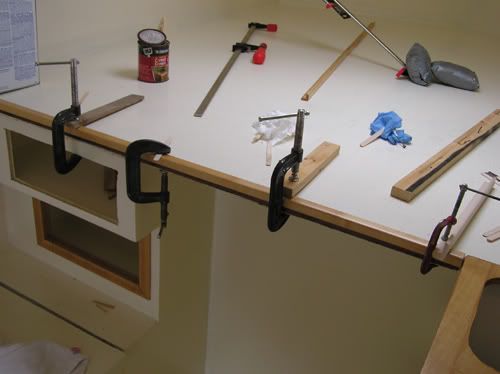
Ryan then used Gorilla Glue to adhere the wood to the Nida-Core. He employed popsicle sticks to assure the proper gap between the seat and the trim.
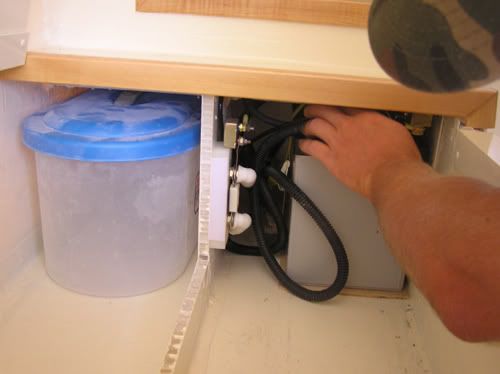
In this photo you can see the opening for the refridgerator (a Norcold marine fridge purchased from Boater's World), and on the left there are shelves for books and magazines. Above the refridgerator is the countertop which will open upwards to allow access to each of the three bins (only two visible in this photo).
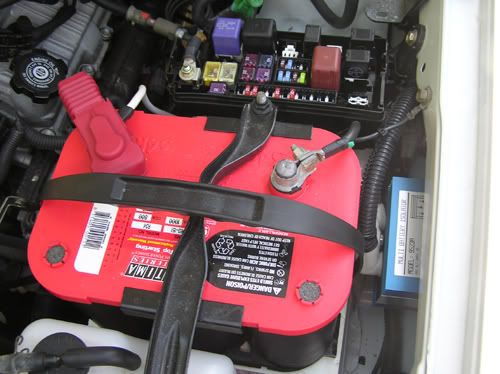
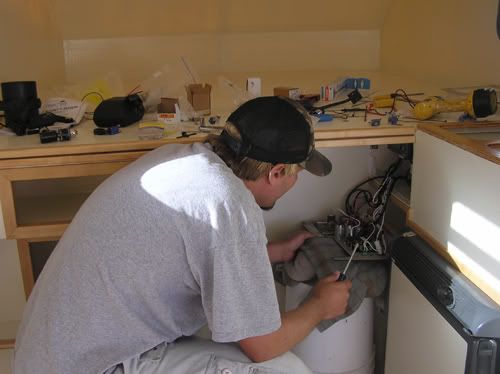
We upgraded to a better battery by installing an Optima 34R. In order to power the fridge and lights in the camper, Ryan installed a battery isolator under the hood,
and connected it to the Deep Cyle battery back in the camper. The isolator will charge the camper battery with the alternator while the car is running, but eventually we will also have a solar panel on top to keep the battery charged while camping in one place for several days.
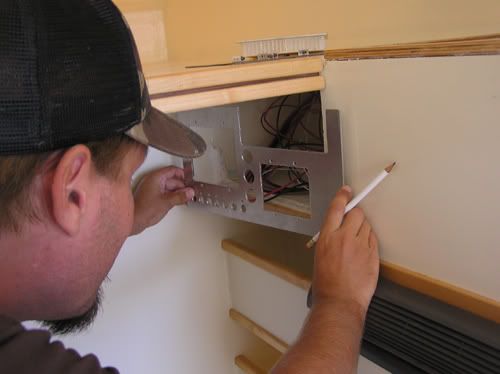
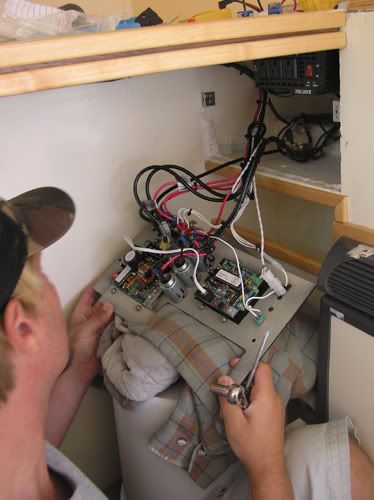
Ryan used a piece of 1/8" thick aluminum to make the electical panel to hold the switches, circuit breakers, solar controller, inverter, and electronic load controller.
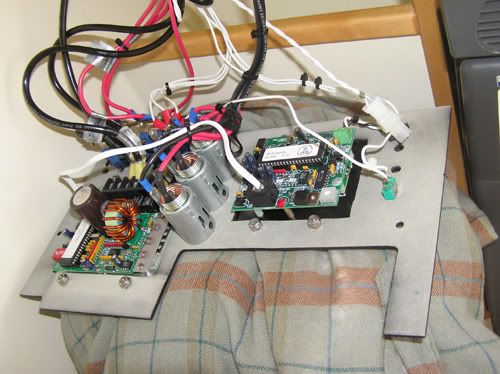
I was very impressed with his ability to wire it all together and make it work properly the very first time. The guy is pretty amazing!
In this photo you can see that the refridgerator is installed.
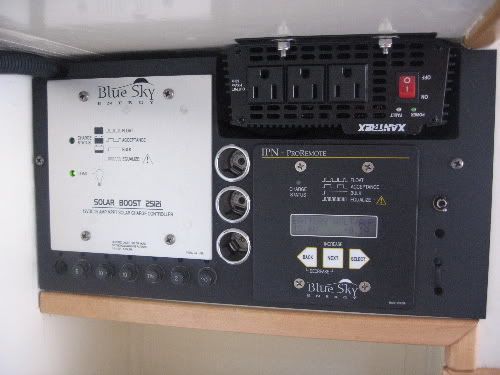
Here is the completed electrical panel. Notice the 12 Volt DC cigarette lighter oulets as well as the AC standard wall outlets.
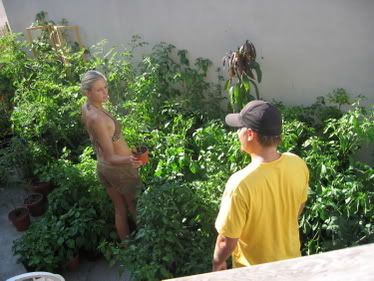
By Summer '06, the garden was thriving once again!
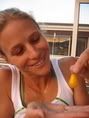
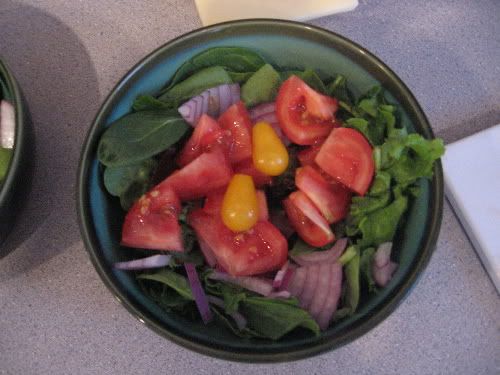
Against Ryan's wishes, I displaced a couple of chiles by growing some pretty Yellow Pear tomotoes. They were really cute in salads!
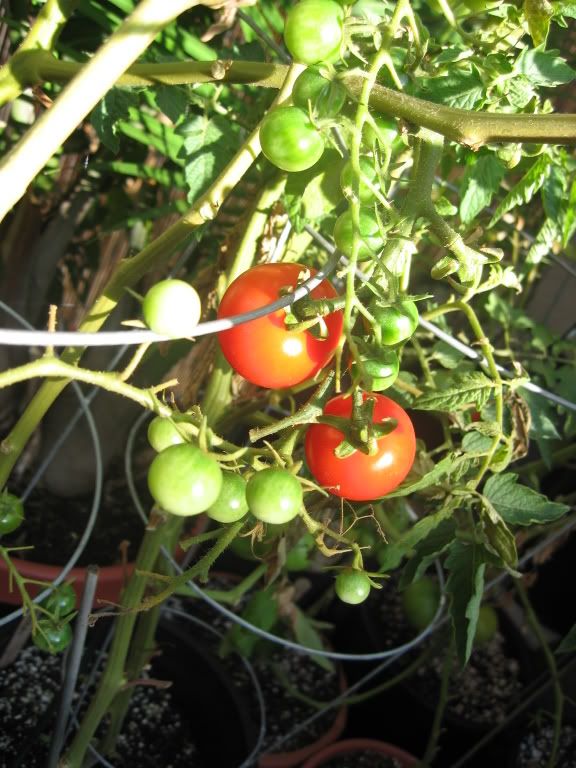 Ryan doesn't even particularly like tomatoes, but he was fond of the Gardener's delight variety.
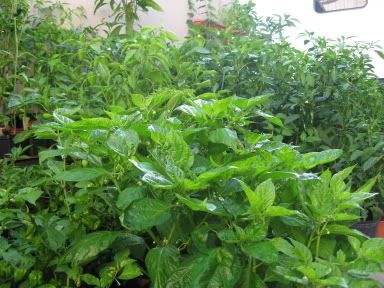
His favorite plants in the garden are the Habaneros.
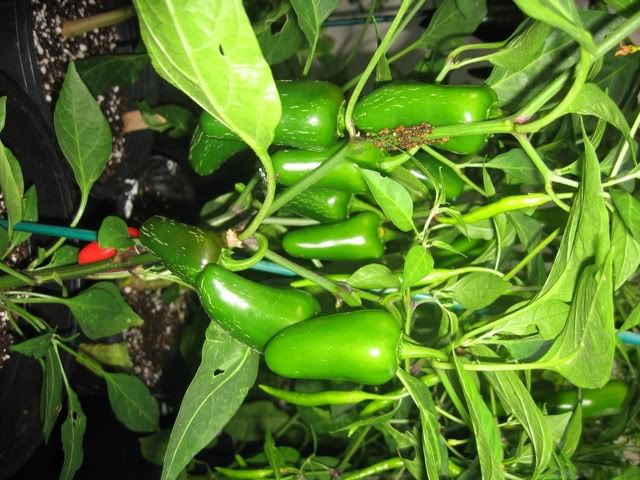
They Jalapenos are pretty good too.
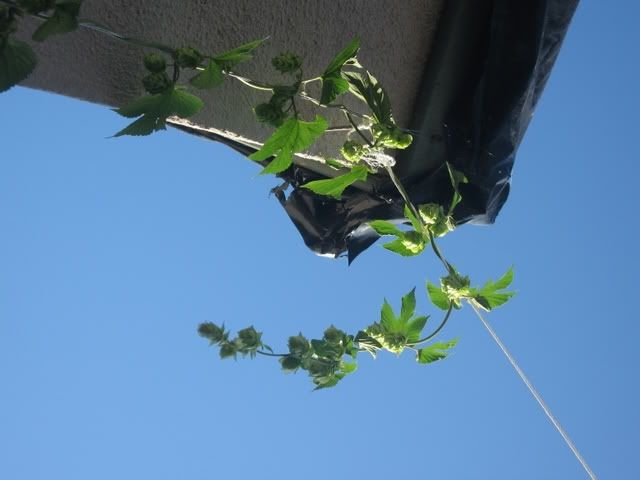
This year we also planted hops. Ryan plans to make a batch of homebrew with these.
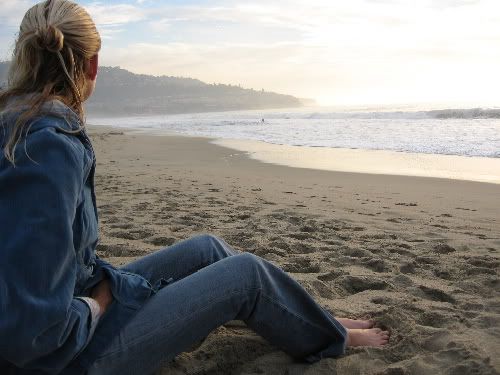
Ahhh, a beautiful sunset at home. We're almost done!
Here, Ryan is installing the latches that will keep the couter top from bouncing while offroading.
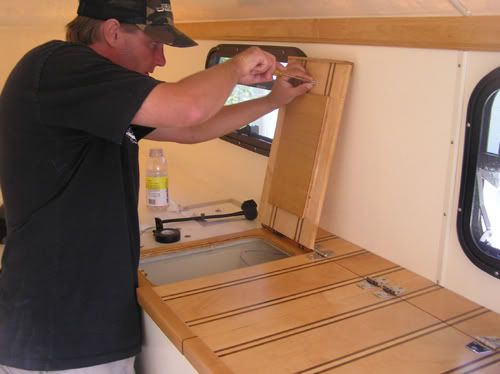
Here you can see the beautiful countertop installed with stainless steel hinges.
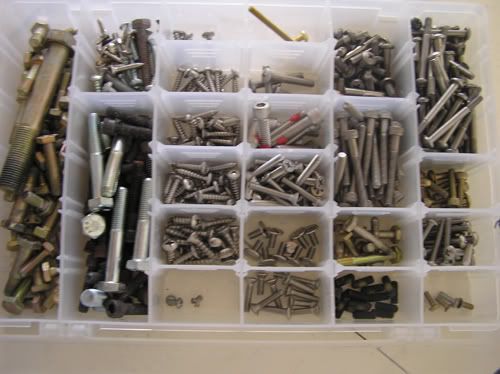
Ryan's collection of bolts and screws.
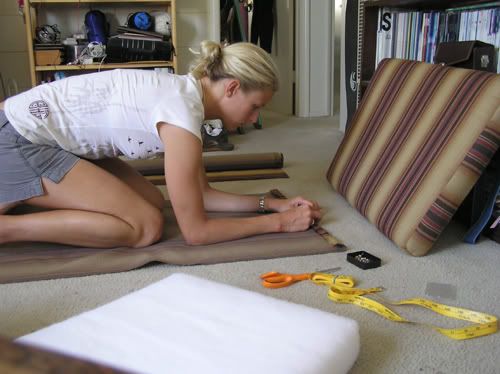
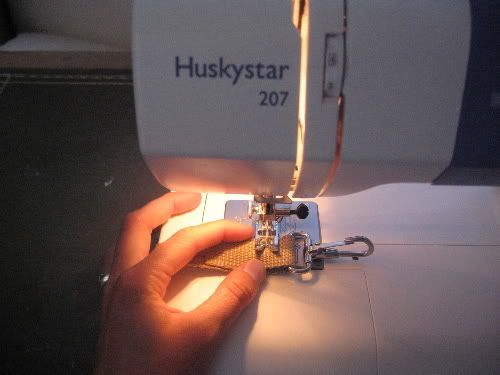
Finally, it's my turn to do some work on the camper on my own, rather than just filling the role of assistant or supervisor. We purchased foam from Evan's Upholstery Supply in varying softnesses. I first covered them in batting to help round the edges and then sewed covers for them from Sunbrella indoor/outdoor water resistant fabric.
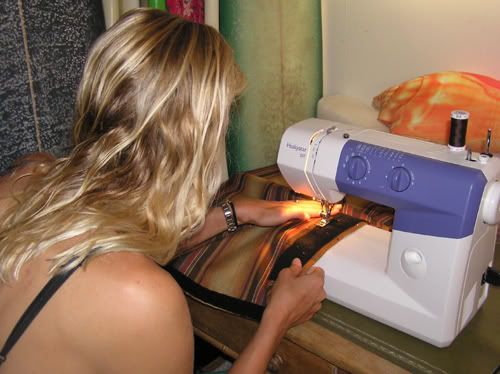
Here I am sewing on the velcro that will keep the cushions closed as well as attach them to the seats and walls of the camper. I am using Hayla Beck's machine (thanks again Hayla!) since mine decided it was tired of working and needed a rest.
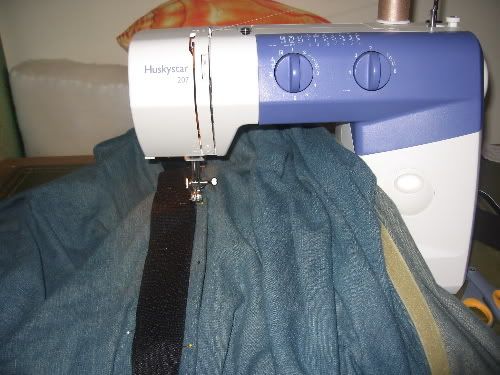
I chose a denim fabric to use as a cover for the bed mattress. I first covered the mattress in muslin to allow the cover to slide on easier.
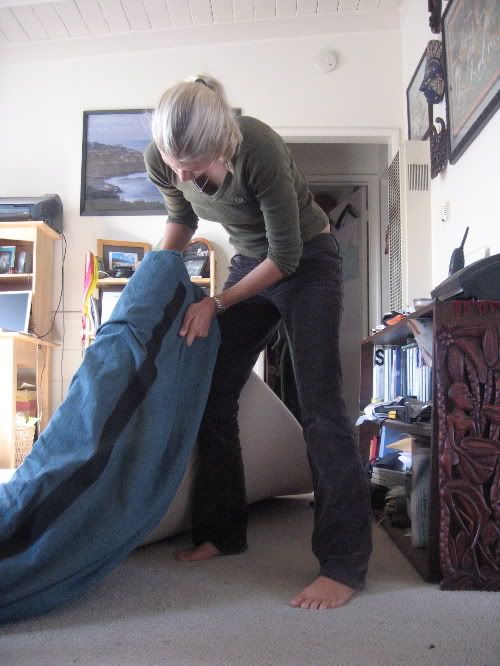
The bed is 6' wide and 6' long except where it comes to a point in the center and stretches to 80". It is a California King size, so it was a bit difficult to get the cover on.
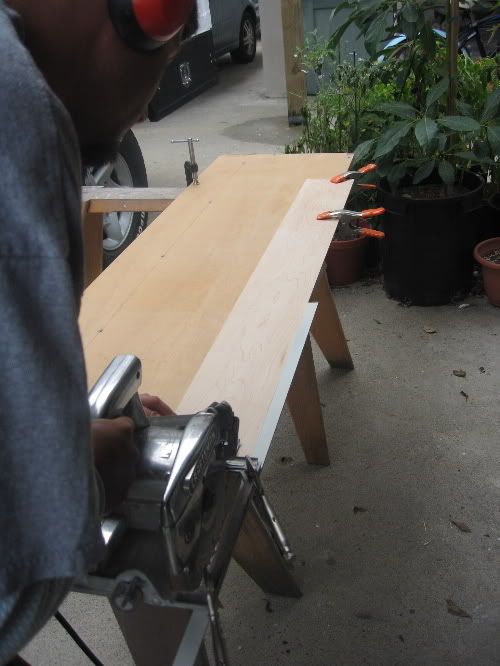
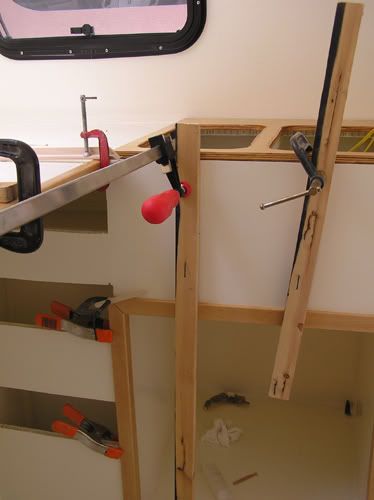
There was still a bit more sawing to be done. We needed to make some strips to cover the edges of Nida-Core that form the baggage compartment dividers. Ryan didn't want to bother Rich Wright again to use his saw, but really needed a table saw to make accurate straight cuts. He clamped a piece of aluminum angle to the edge of the saw to use as a guide and once again solved a problem by modifying one of his tools.
Here he is reveling in his success with woodwork. You can see the crown moulding, the cabinet doors, as well as one of the strips he has just cut. If you look closely inside the compartment on the left, you can see the edge of the red funnel that serves as the bathroom.
We decided that in order to make using the funnel more comfortable, we needed to have a way to keep the bench open without having to hold it. In this photo, you also notice small black squares on the edge of the open bench. They are rubber stickers that we stuck on to protect the edge of the bench from bouncing on the metal when it slams closed.
Ryan used pieces of aluminum primed and painted, and riveted on a stainless steel "footman's loop" and then used Sika-flex adhesive as well as rivets to attach it to the camper.
We bought nylon strapping in a sand color to match our cushions and I sewed them onto clips called Bimini clips to attach to the footman's loop and then also hook onto the seat to keep it open.
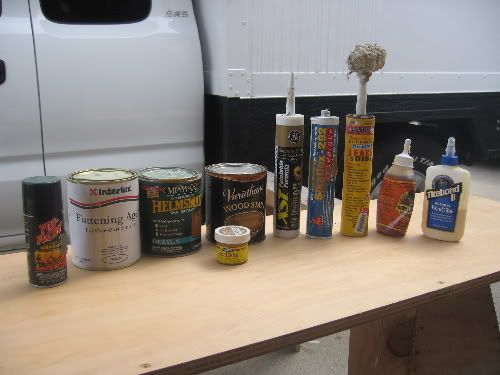
So we don't forget the products that we enjoyed using, here is the lineup of our favorites.

Lighting. You will first notice the moody red lights. These are LEDs. We like the moody red glow and the fact that they won't destroy our night vision. There is also an light with both red and white LEDs on the ceiling as well as a reading light that can be positioned to shine at any angle mounted on the countertop. You can also see the cushions in this photo.
Well, that's about it as far as construction goes. We can hardly believe that the two year long project has finally come to an end! The camper is usable and we are very excited to use it. As of today 10/31/2006, we have just returned from the maiden voyage of the super camper. I will be updating photos very soon! Check back to see how it performs on the road and near the surf.
Thanks for looking,
Happy Halloween!