By April 2005, the horrendous wind and rain storms had finally begun to subside. The waves were still fun, but at least we were able to get back to work in the afternoons after the wind turned onshore. Around this time we began work on the second level of the camper.
The Nida-core panels had a glossy coating that had to be sanded away so that the fiberglass and resin would adhere completely. Before assembling pieces, Ryan sanded down all the edges. We would later wish that he had sanded the entire piece while it was laying flat on the sawhorses, but that's a story to tell when we begin preparing to paint the camper.
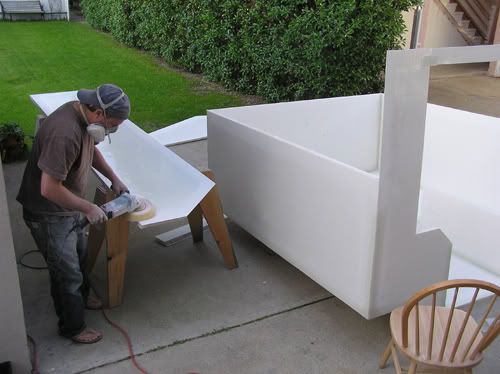
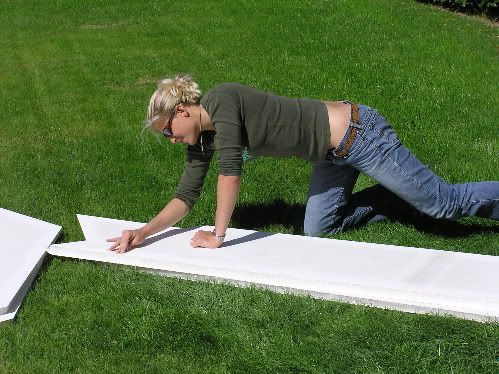
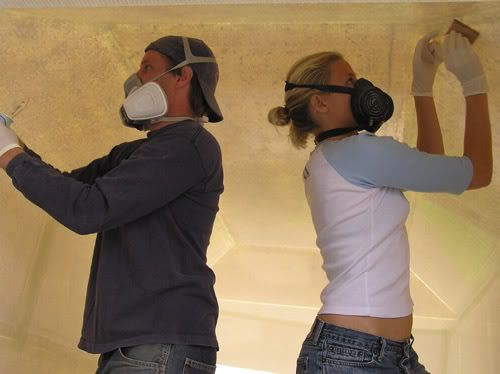
Since the core of Nida-core is honeycomb, it isn't completely smooth. There are little indented pockets in the center of each little honeycomb cell. The electric sander can't get into those pockets nearly as well as fingertips can. So after Ryan went over the panels with the sander, I had to go over them again by hand.
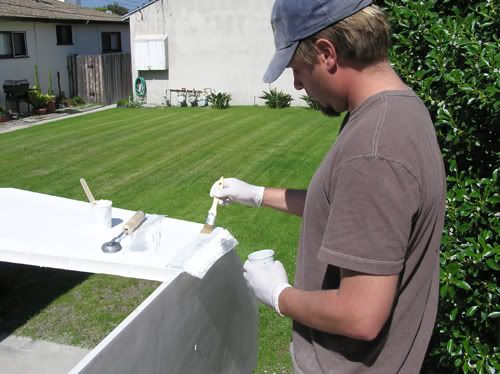
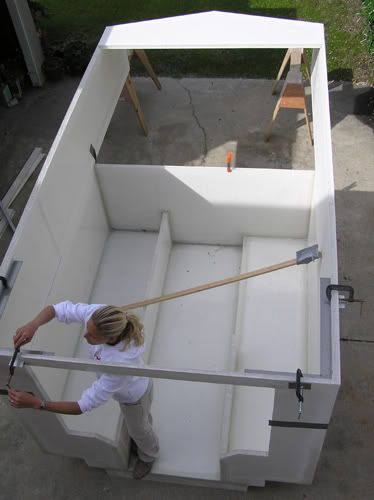
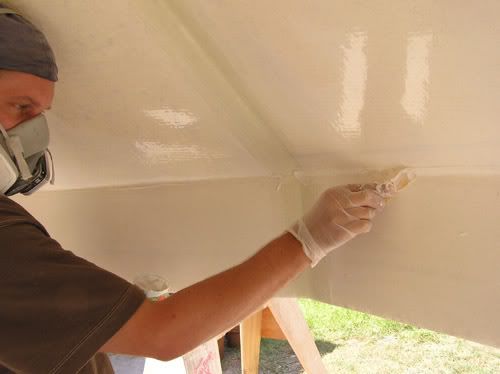
"This is the way we connect the seams, connect the seams, connect the seams, this is the way we connect the seams, so early in the morning..." Here Ryan is demonstrating using a paint brush to spread on the resin. We went through countless 1" brushes along the way. We began saving them by tossing them into a cup of acetone but they were cheap, so often we just threw them away. Annoyingly, they would leave bristles (aka mohairs) behind and I would have to go through and try to pick them out without messing up the sticky seam.
Things are really starting to come together at this point. Now, as always, keeping everything square is of utmost importance (as Ryan is constantly reminding me)!
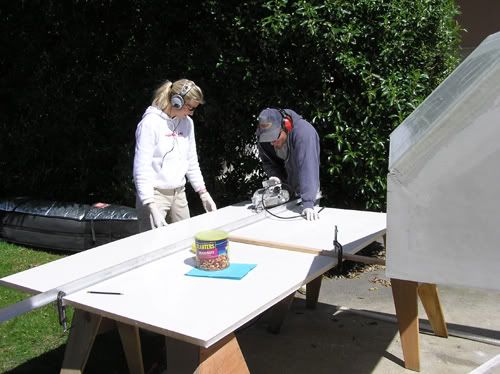
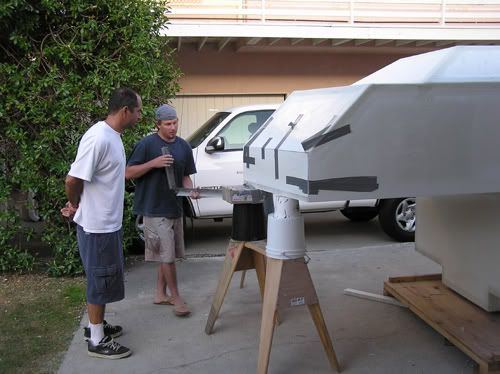
Here we are sawing the pieces that will become the roof. Thanks to our neighbors for continuing to tolerate the noise and dust!!!
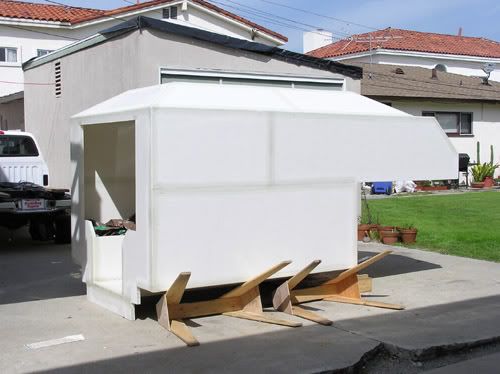
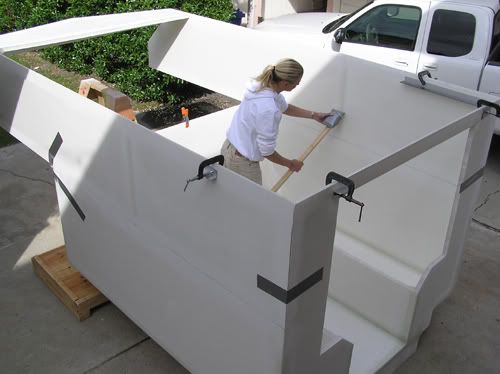
In this photo you should notice the angled roof. The original inspiration camper that we rented in Western Australia had a pop-up roof. This was nice because it kept the overall height of the camper down, but also annoying. In order to go to sleep, we first had to pop up the top and then rearrange things. On our trip, Ryan would often fall asleep after dinner in front of the soothing campfire and I would have to do it myself. In the morning, rather than being able to just hop into the cab and drive off to look for surf, we had to rearrange the surfboards again and then secure the top down. It was a lot of work, and we wanted to design something that wouldn't take as much effort. Of course, we also wanted to be able to stand up inside, but not make the camper too massive. The compromise came in the form of a slanted roof. The ceiling along the walkway inside is just high enough for Ryan and I to stand straight and have about an inch of clearance. Since he is only about 5'9" on a tall day, we were able to keep it pretty low. Any of our 6' tall friends are going to have to bend down a bit. We slanted it down on the side to help with wind resistance and add to street appeal. Standing next to the camper, an observer wouldn't even notice the taller section in the middle so the camper seems smaller than it really is.
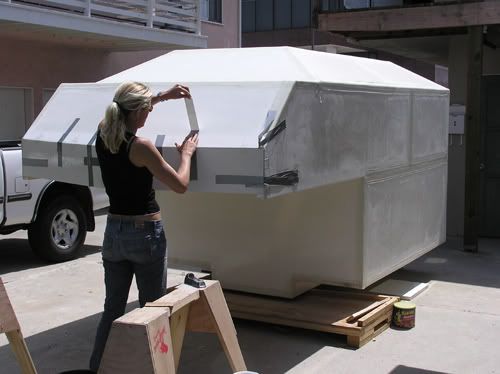
Once again, we used a lot of duct tape to hold the pieces together while the resin cured.
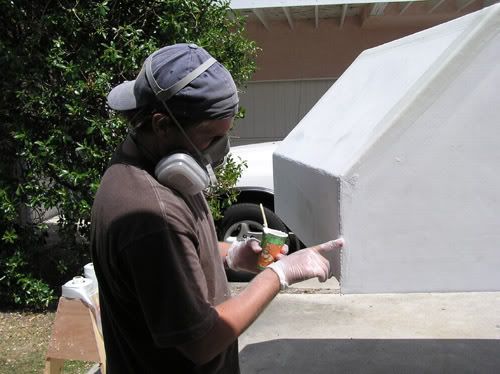
Here, Ryan (aka David Putty) is making the corner a smooth radius with resin putty. The other edges will eventually be covered and supported by 3" aluminum angle, but this leading edge will not, so it needs to be nice and smooth.
We found that the best way to seal the seams without any air bubbles was to first smear the seam with resin putty (resin mixed with cabosil and micro balloons available from http://www.fiberglassupply.com), and then before it hardens, apply the layers of fiberglass tape, painting each with catalyzed resin, and then using a small square of cardboard to squeegee out the excess resin and make sure there were no air bubbles. In the photo above, Ryan is applying the putty with a tongue depressor. We also went through many boxes of popsicle sticks.
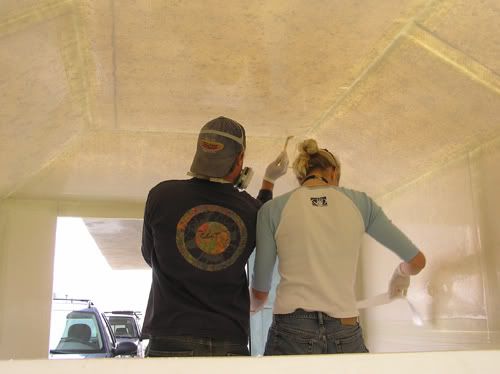
We had to work quickly and as a team in order to finish before the resin began to gel. Ryan was smart enough to wear a hat for this step, thus avoiding the drops of resin that I later had to rip out of my hair.

Thanks to Scott Cummins for his photography.
The final structural step was to put in the large piece that would serve as the bed and extend out over the cab of the truck.

Ryan and Scott, making sure it is all square.
With the bed in place, we spun the camper around to face the other direction.

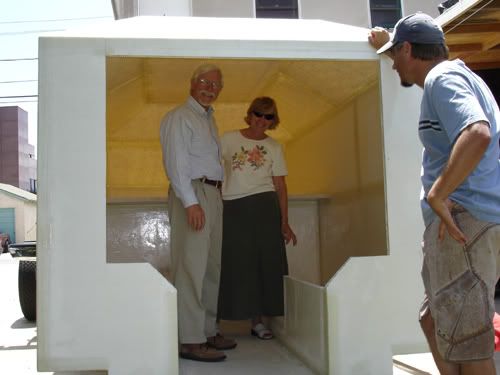
Ryan's parents stopped by to check up on our progress.
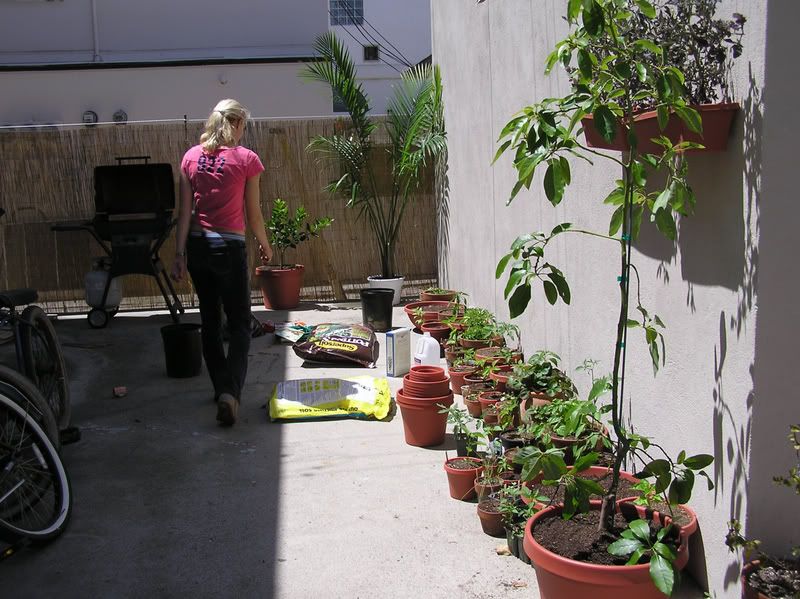
Feeling rather accomplished with our success up to this point, and since the weather had improved so much, it was time to take another break and work on the garden.

We came home from Home Depot http://www.homedepot.com with a couple new friends, some new pots, and our secret (don't tell anyone) to a happy and healthy garden, several bags of Supersoil. Here's Ryan introducing our baby lime tree to his new home.
Chile seeds had been germinating for weeks upstairs in the warmth of our heated apartment and it was finally time to move them out into pots.

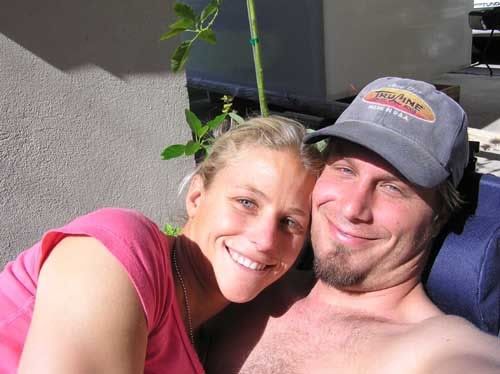
We celebrated the nice weather with an idle afternoon and fresh salsa in the garden.
Thanks for looking. Check back next time to see how our garden has grown and attend the marriage of camper to truck.
2 comments:
What progress!!!! I wish I could be there to see it in person! (does it take forever for you to upload all those pictures?)
viagra faq viagra equivalent viagra rrp australia lowest price viagra new viagra viagra mexico viagra free sites computer find super viagra pro viagra from canada viagra prescription uk viagra canada viagra vs cialis viagra generic soft tab viagra and hearing loss
Post a Comment